Setup Hubspot live chat for Next.js app
Learn how to set up HubSpot Live Chat in your Next.js app to improve customer engagement and support. This step-by-step guide covers integration, customization, and best practices for seamless live chat functionality.
1. Signin Hubspot
Please signin the Hubspot, if you do not have the account, please sign up or you can sign in by Google, Gitbhub, or Mirosoft.
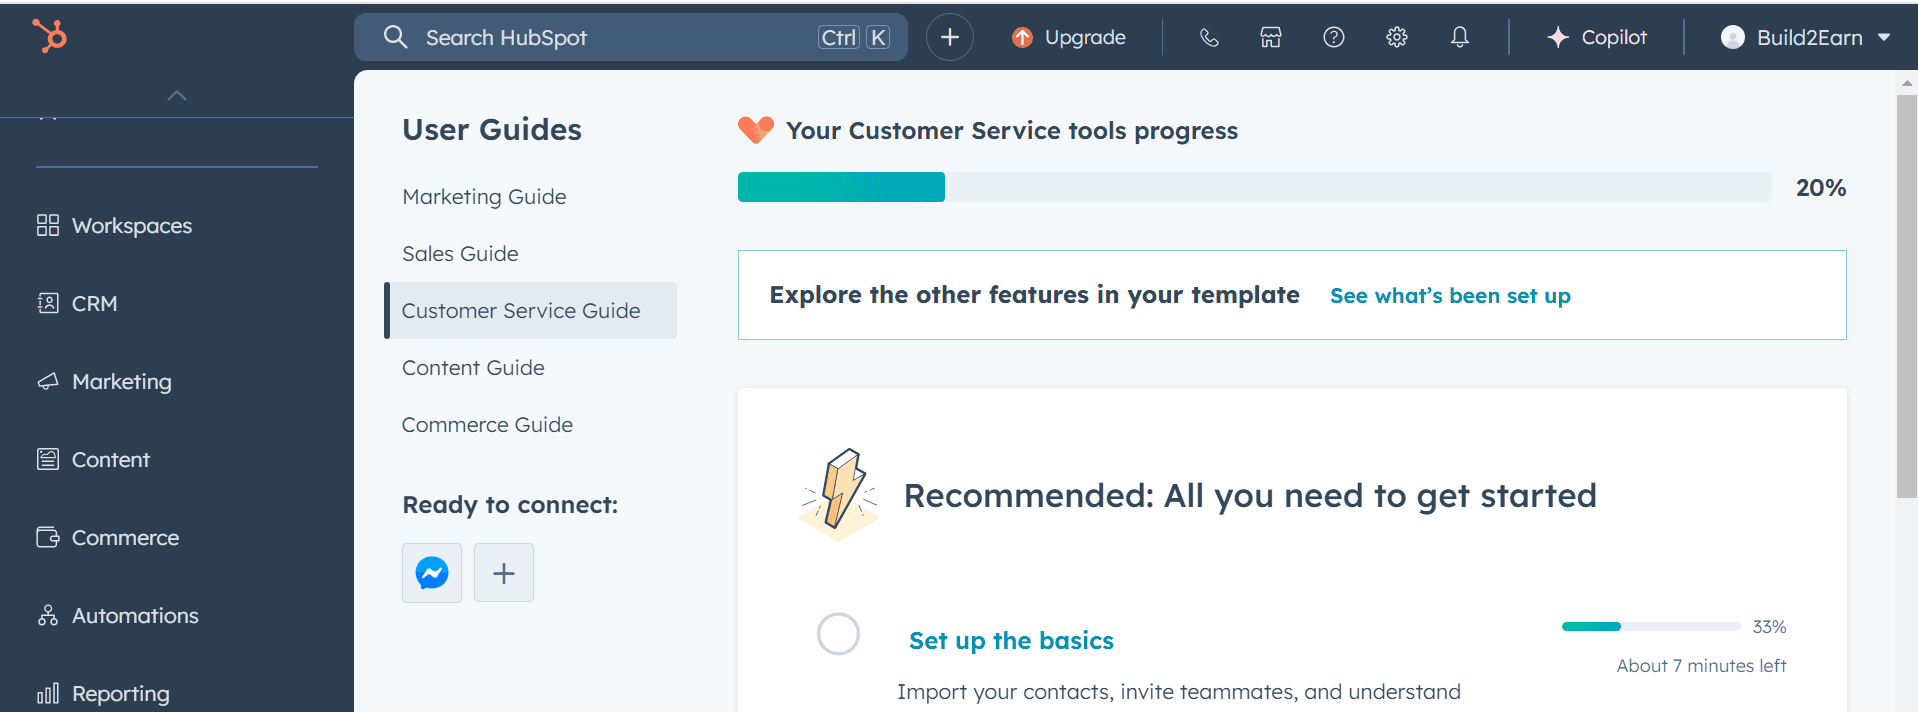
After signin you ger into the dashboard like that:
2. Integrate Hubspot live chat into the Next.js App
Add this script bellow into the root layout.tsx file (Script is a build in component from Next.js):
jsx<Script
  id="hs-script-loader"
  type="text/javascript"
  src={`https://js.hs-scripts.com/${config.HUBSPOT.ID}.js`}
  strategy="lazyOnload"
  defer
/>
Notes: Make sure it is at the end of body tag, you can refer my code below:
jsx...
import Script from "next/script";
...

export default function RootLayout({ children }: { children: React.ReactNode }) {
  return (
    <html
      lang="en"
      className={clsx("h-full scroll-smooth bg-white antialiased", inter.variable, lexend.variable)}
    >
      <body className="flex h-full flex-col">
        ...
        <Script
          id="hs-script-loader"
          type="text/javascript"
          src={`https://js.hs-scripts.com/${config.HUBSPOT.ID}.js`}
          strategy="lazyOnload"
          defer
        />
      </body>
    </html>
  );
}
As you can see the variable ${config.HUBSPOT.ID} in the script, this value is got from the .env file. You can handle environment variables by yourself, or you can refer on my docs.
If you handle env variables like me, please add the HUBSPOT_ID value on the .env file:
jsonHUBSPOT_ID="xxxxxxxxxxx"
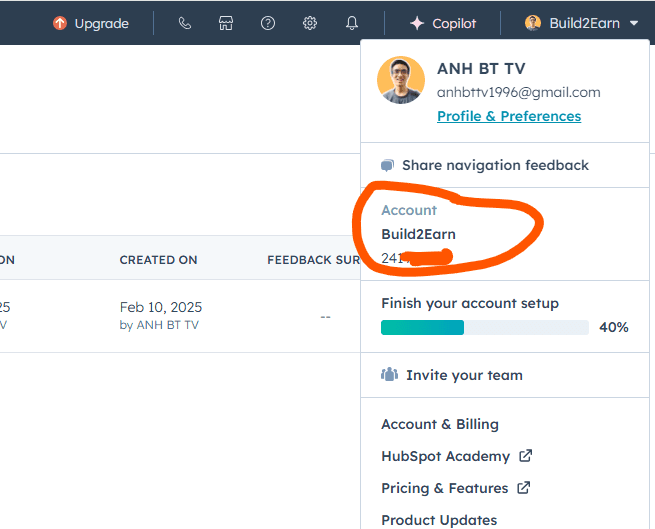
The HUBSPOT_ID value you can get on the Hubspot profile:
After update the .evn file, you need to update config.ts file at the root of source code folder:
js/* eslint-disable import/no-anonymous-default-export */
export default {
  ...
  // Hubspot
  HUBSPOT: {
    ID: process.env.HUBSPOT_ID,
  },
  ...
};
3. Create a new chat flow
In the left navigation, go Automations -> Chatflows:
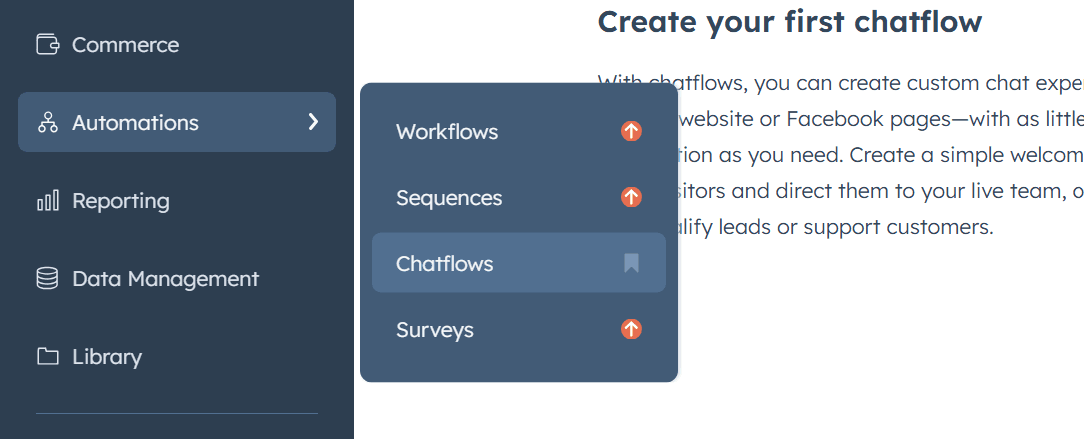
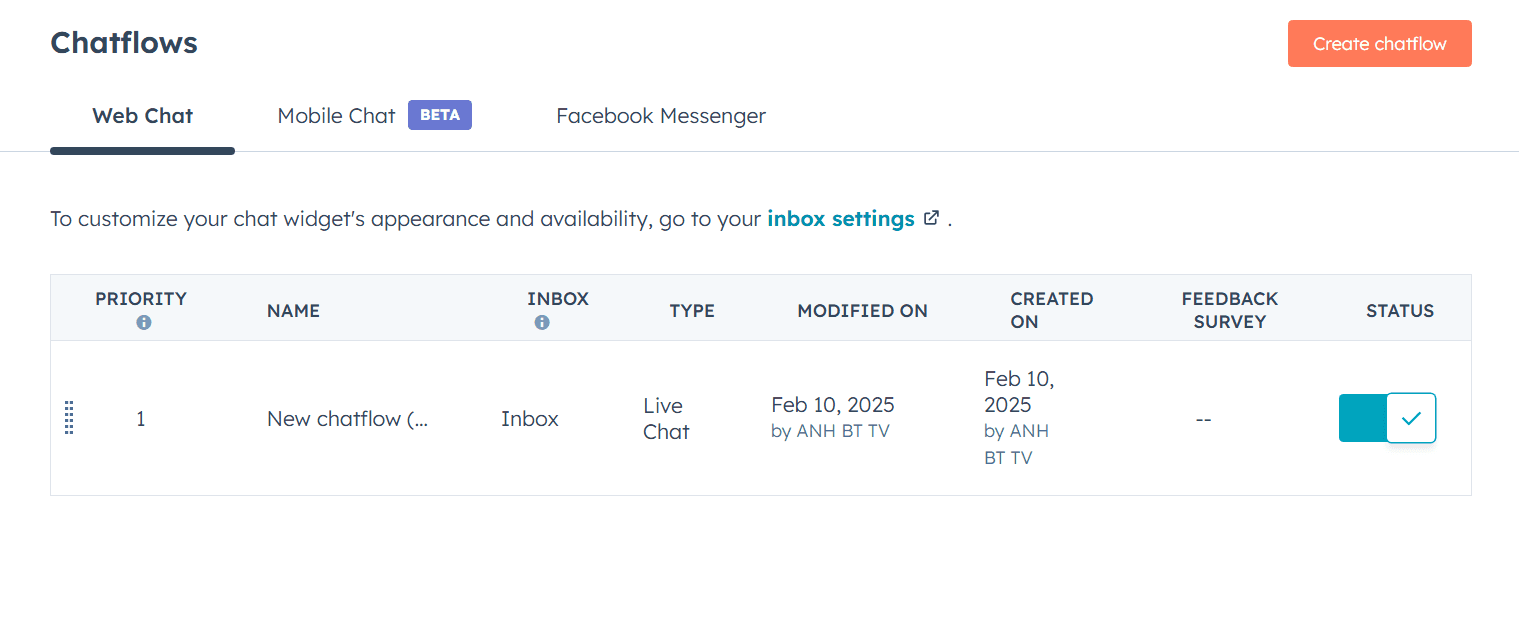
In the Chatflows page we click "Create chatflow" button:
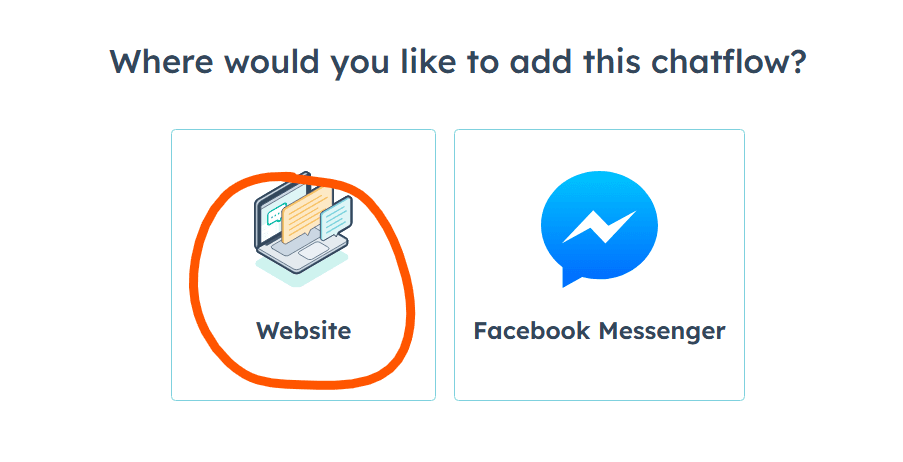
Choose "Website" option.

Choose "Live agent" option.
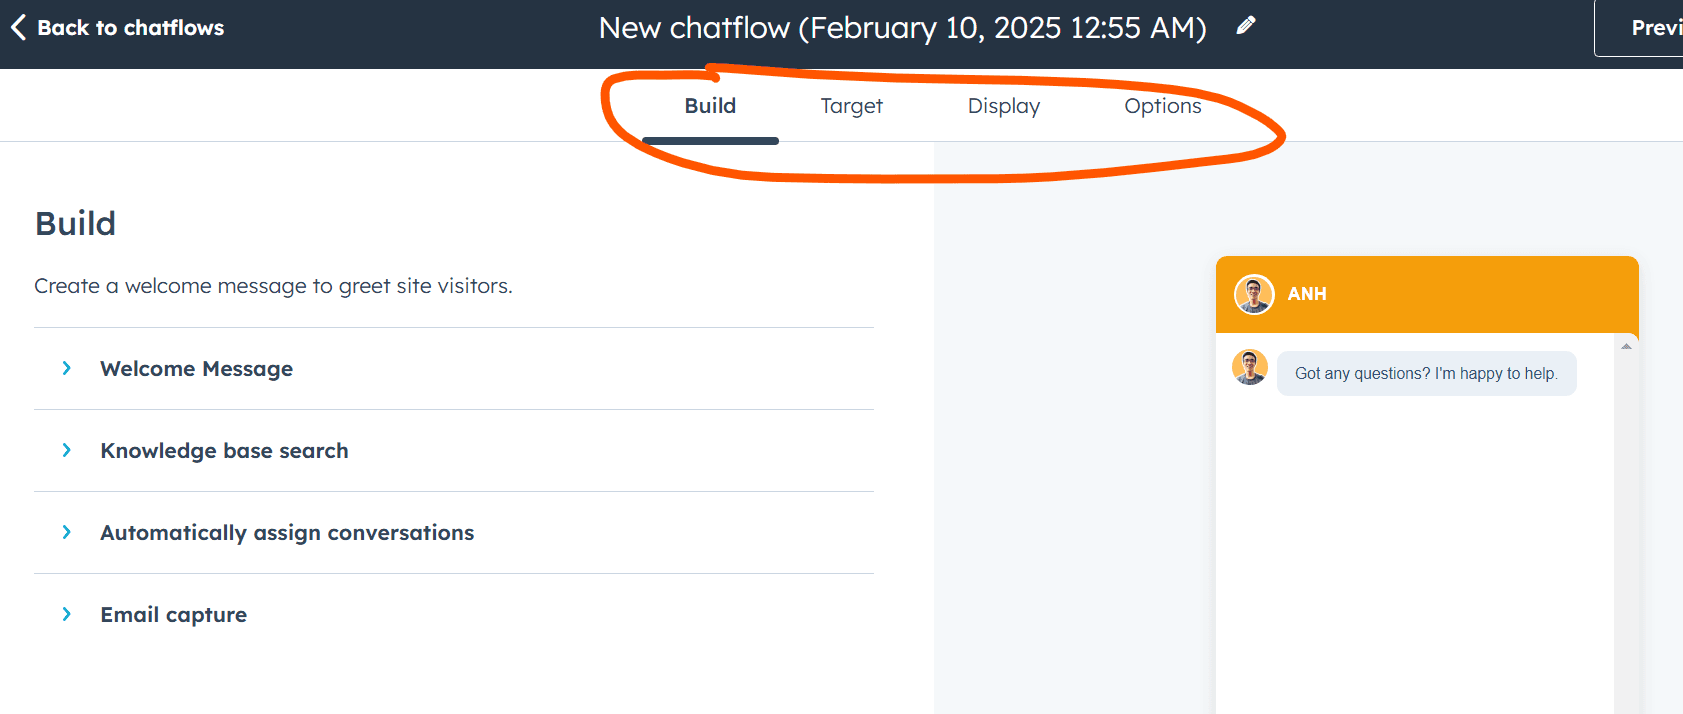
In this settings, we can setup the "welcome messages", setup the page URL which you want to show the live chat, setup the avatar which shown on the live chat, ... After settings, you can get back to the chatflows.
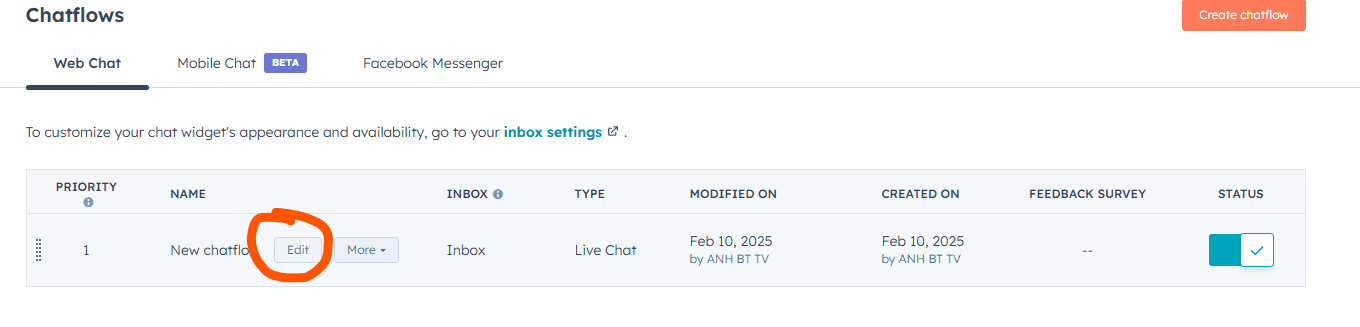
4. Custom look and fell of live chat
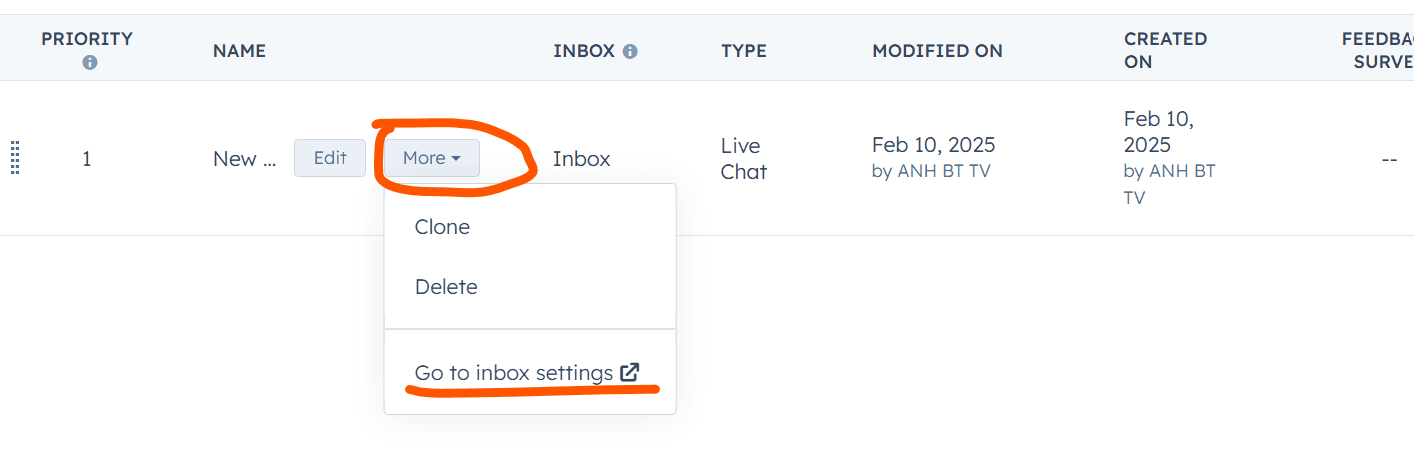
In this chatflows page, click on the More -> Go to inbox settings:
4.1 Custom the live chat color
You can choose the color for your live chat base on your brand color:

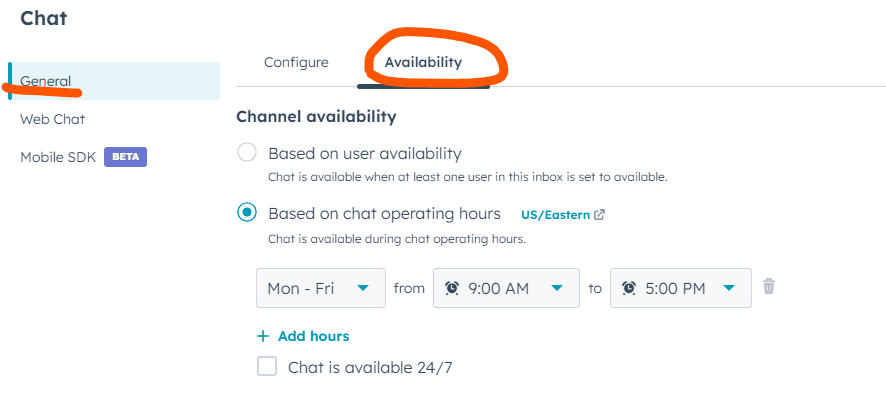
4.2 Custom available time
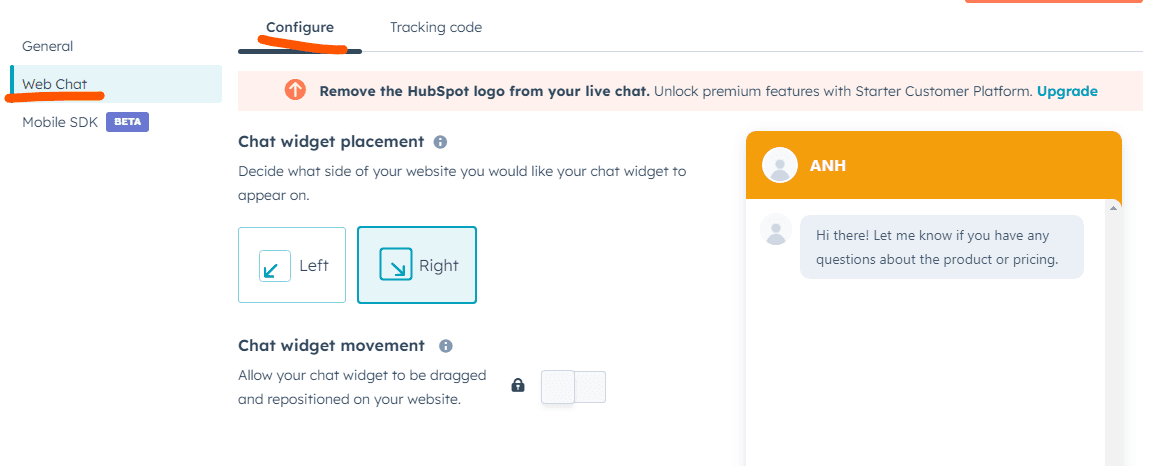
You can choose the live chat can be shown on the bottom left or bottom right of page:
4.3 Custom position of live chat:
You can choose the live chat can be shown on the bottom left or bottom right of page:
4.4 Custom the avatar:
If you want to add avatar of supporter on the live chat like this:

You need get back to setup the chat flow on previous step:
In display tab setting, you need choose the user who can reply the customer, if user have the avatar, the avatar image will be shown on the live chat.

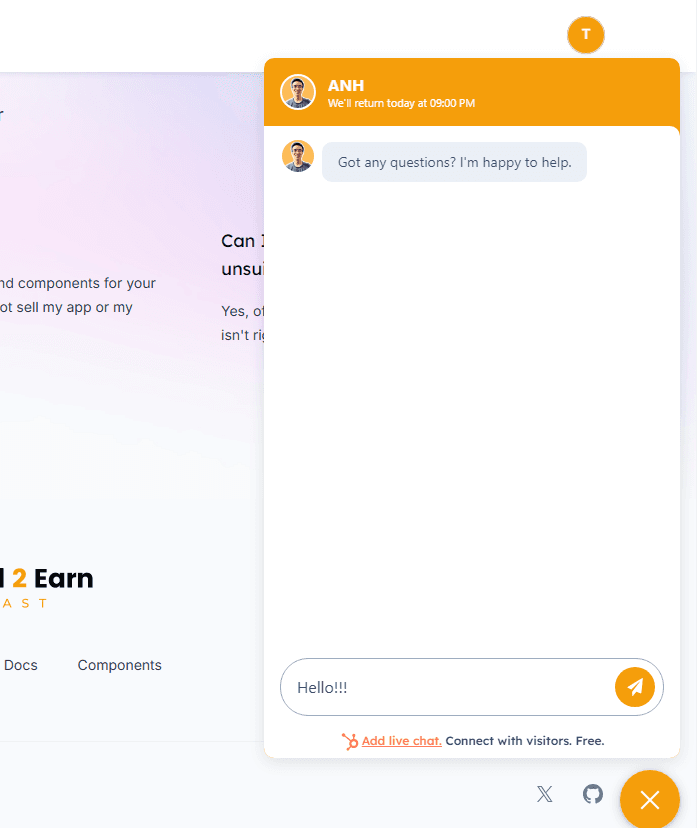
5. See the result
After integrate with Next.js and custom the look and feel of live chat, so you will see the result like that on your website:
Notes
Sometimes you might not see the live chat right away, even though the setup is correct. The issue is that HubSpot hasn’t fully finished setting it up yet, so you can wait about 30 minutes to an hour and then review it again.
After customer send the message, the message will be show on the Inbox section on the Hubspot:
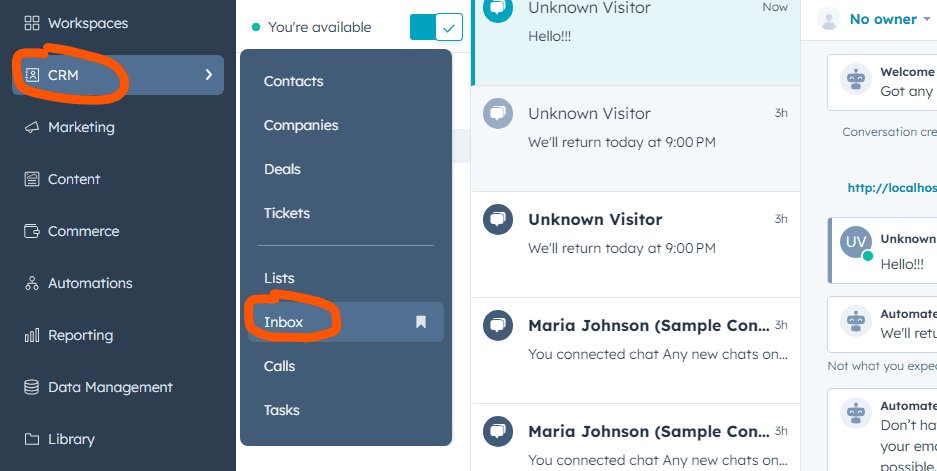
Cool! Now you can see any messages from your customers, you can chat with them and get the feedbacks.