How to Use eslint-plugin-simple-import-sort for Clean and Organized Imports
Learn how to use eslint-plugin-simple-import-sort to automatically sort your imports in JavaScript and TypeScript projects. Improve code readability and maintainability with this lightweight ESLint plugin. Includes setup guide, best practices, and real-world examples.
1. Install eslint-plugin-simple-import-sort
Use Yarn:
shellyarn add --dev eslint-plugin-simple-import-sort
Use NPM:
shellnpm install --save-dev eslint-plugin-simple-import-sort
2. Update eslint.config.mjs file
Now we need to update the eslint config file:
jsimport simpleImportSort from "eslint-plugin-simple-import-sort";

const eslintConfig = [
  {
    plugins: {
      "simple-import-sort": simpleImportSort,
    },
    rules: {
      "simple-import-sort/imports": [
        "error",
        {
          groups: [
            // Side effect imports (e.g., styles)
            ["^\\u0000"],

            // React & Next.js first
            ["^react$", "^next"],

            // Other external libraries (excluding React/Next)
            ["^@?\\w"],

            // Internal imports (e.g., absolute imports using @ alias)
            ["^@/"],

            // Relative imports (starting with ./ or ../)
            ["^\\."],
          ],
        },
      ],
    },
  },
];
Notes
After install and update the config file, you need to close and reopen the VS Code.
3. Test the output
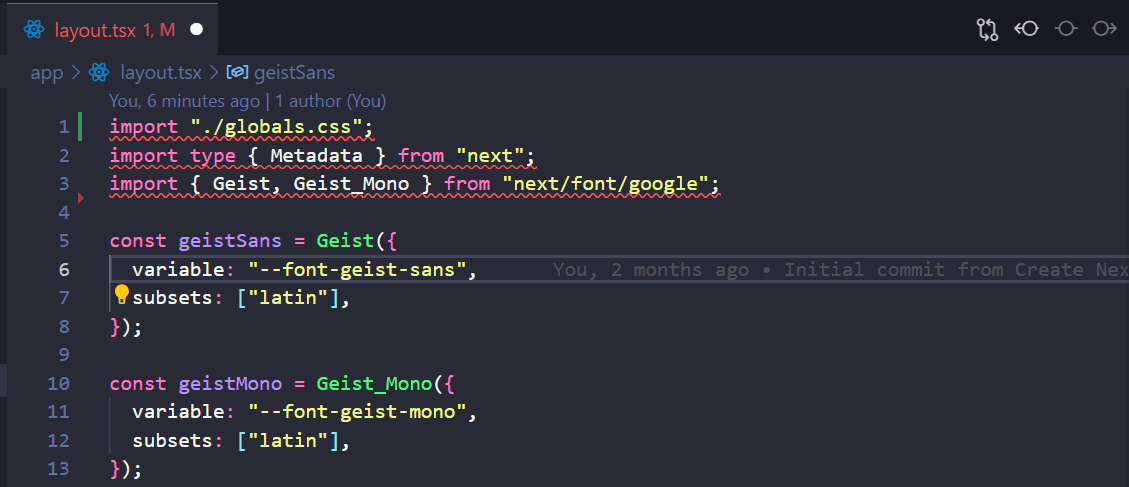
After install lib, and reopen VS Code, you can open any the file, and you can see the error import section like that:

jsximport "./globals.css";
import type { Metadata } from "next";
import { Geist, Geist_Mono } from "next/font/google";
Now you can format source code by VS Short key (CTRL + ALT + F in Window/Ubuntu, or cmd + F in Mac OS). The output is:
jsximport "./globals.css";

import type { Metadata } from "next";
import { Geist, Geist_Mono } from "next/font/google";
Cool! Now you can format all files base on one rules, the source code can be scale up when a lot dev contribute in your project.