Install Tailwind CSS Sorting
Sorting helps organize data efficiently in web applications. This guide will show you how to install Tailwind CSS and implement sorting for tables, lists, or dynamic content. Follow these steps to enhance your project's functionality while keeping a clean and responsive design.
Before you install Tailwind CSS sorting, you need install Prettier first, please refer my docs here.
1. Install prettier-plugin-tailwindcss lib
To automatically sort Tailwind classes, install the prettier-plugin-tailwindcss plugin:
Use Yarn:
shellyarn add --dev prettier-plugin-tailwindcss
Or use NPM:
shellnpm install --save-dev prettier-plugin-tailwindcss
Notes
Before use the prettier-plugin-tailwindcss, you need to install Prettier, if you have not installed it yet, please refer this link.
2. Config the Prettier config
Inside your project, update the .prettierrc.js file with the following content:
jsmodule.exports = {
  plugins: ["prettier-plugin-tailwindcss"],
};
Notes
Please close and reopen the VS Code before testing sorting feature, sometimes if you not restart your VS Code, the sorting is not working.
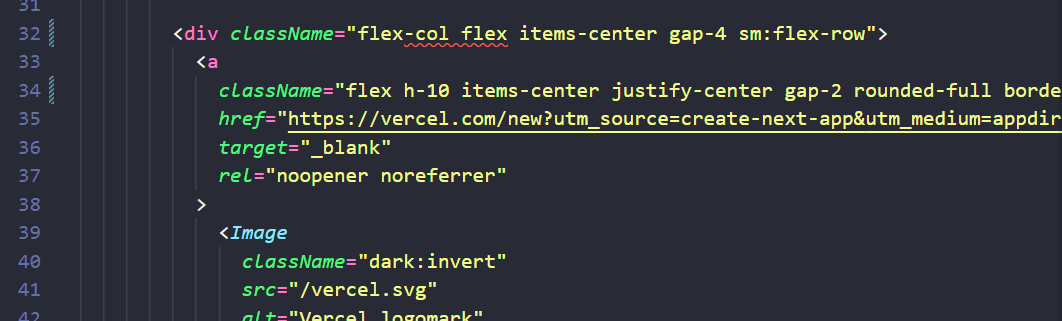
3. Test Class Sorting
After done 2 steps above, you can open any code files, you can see the error on the className. To sort and remove this error, use format short key of VS Code or can save this file to automatic format.
Or you can write this line of code and format this file:
jsx<div className="text-white bg-black p-4 flex justify-center"></div>
When you save the file, it should automatically format into the correct order:
jsx<div className="flex justify-center bg-black p-4 text-white"></div>