02 Build MVP fast
Download and setup Next.js template code
After installing all the necessary development tools, it’s time to download and set up the source template. This will give you a ready-to-use project structure with built-in features, so you can start building your app faster.
My source code is built with Next.js, one of the hottest web frameworks today, known for its many advantages such as server-side rendering, static site generation, built-in API routes, and fast performance... You can learn more here.
1. Download the Next.js source template
I have several source templates available, and each one uses different technologies or libraries. If you already have experience with a certain tech stack or library, feel free to choose the one that suits you best.
If you’re not very experienced yet, I recommend starting with the default option. You can read more on the template page.
Click here to view and download ->
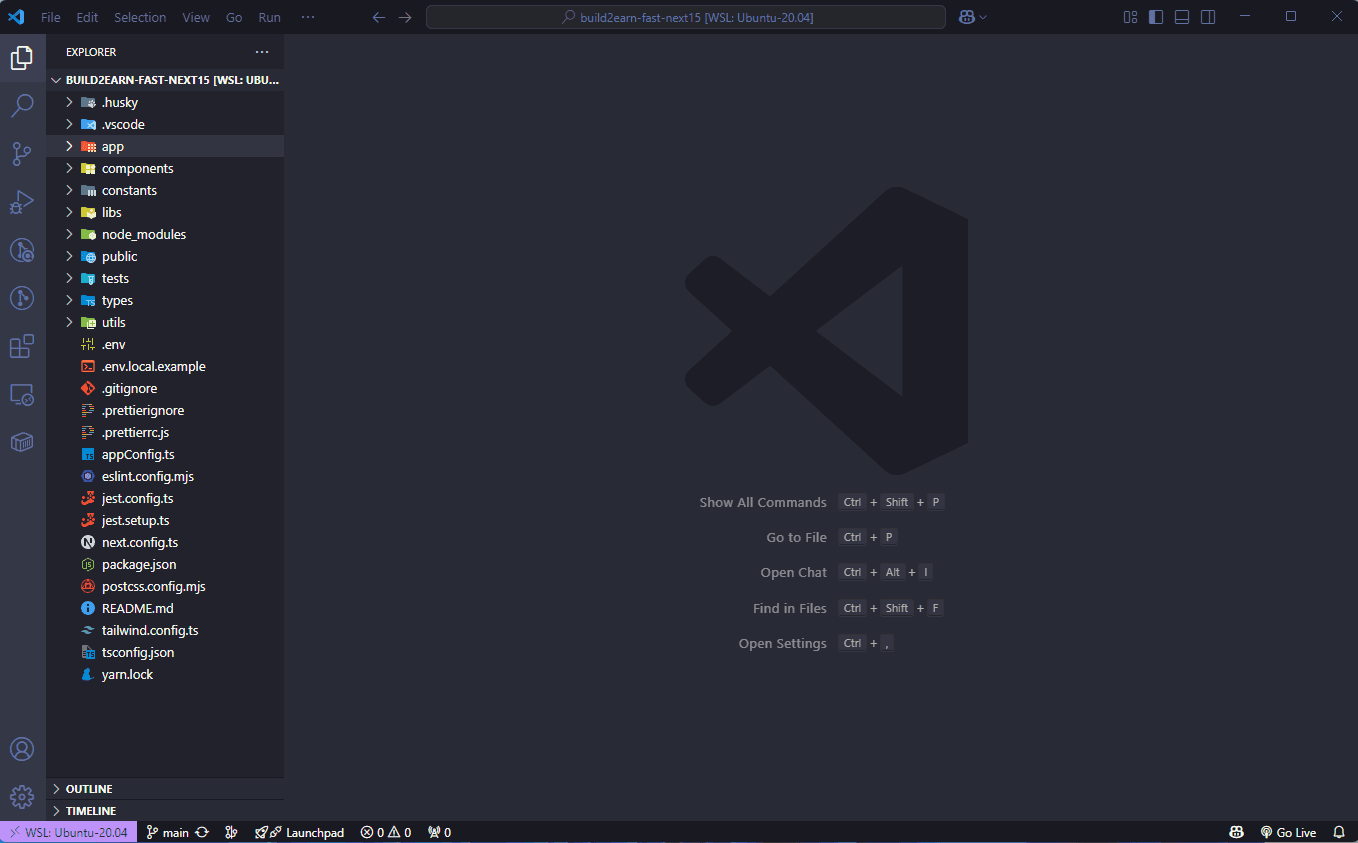
After downloading, unzip the file and open the source code with VS Code.
2. Install and setup source code
After downloading, unzipping the source code, and opening it in VS Code, now let’s go ahead and set it up!
Open terminal (Powershell on Window, Bash on Linux and Zsh on MAC) on the VS Code, and run this command below:
bashyarn
This command will install all libraries and dependencies in the source codes.
Everything is set up, now you can move on to the next step →
3. Create .env.local file
The .env.local file is where you store environment variables that should only be used in your local development setup. These variables can include API keys, database URLs, or any sensitive information you don’t want to commit to source control. Next.js automatically loads them into your app, making it easy to manage configuration securely.
Just copy the file .env.local.example (in root of folder source code) the paste, then change the name to .env.local
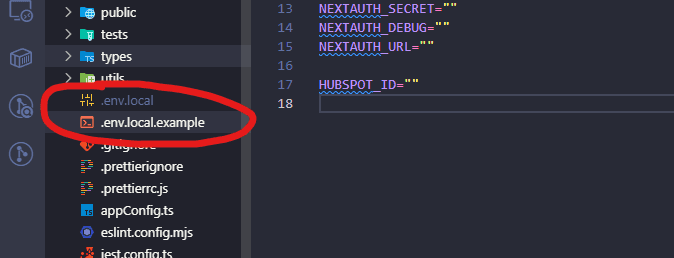
You have successfully completed the setup 🎉.