03 Release product
Add your domain
After deploying your app on Vercel, you'll receive a default domain like your-app.vercel.app.
While this works fine for testing, it’s not ideal for a real product. To build trust and strengthen your brand, you should connect your own custom domain — like yourbrand.com.
In this guide, you’ll learn how to purchase a domain and connect it to your Vercel project. It represents your brand, builds trust, and makes your product easier to remember and share.
1. Buy domain on Namecheap
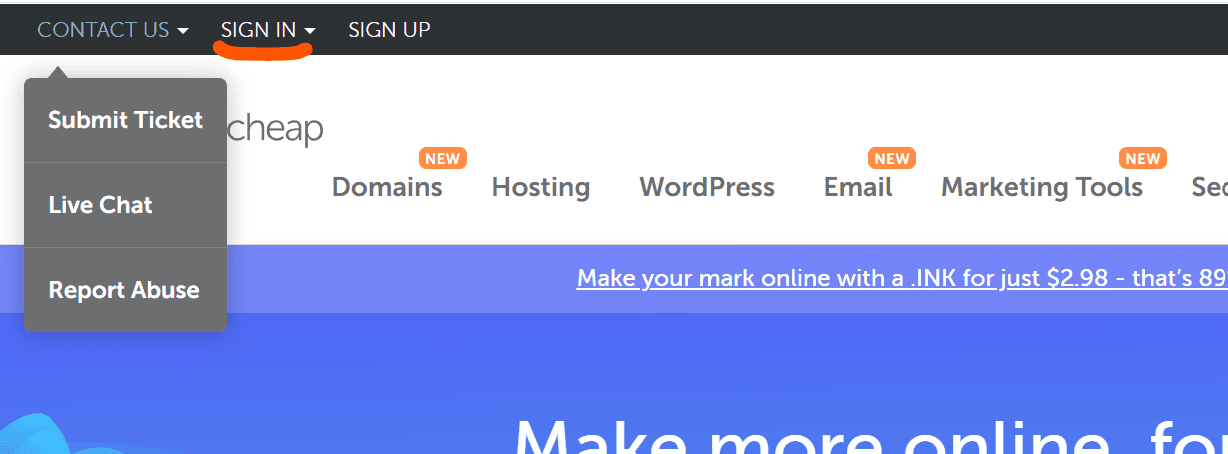
First, sign in to your Namecheap account. You can signin by Google Account.
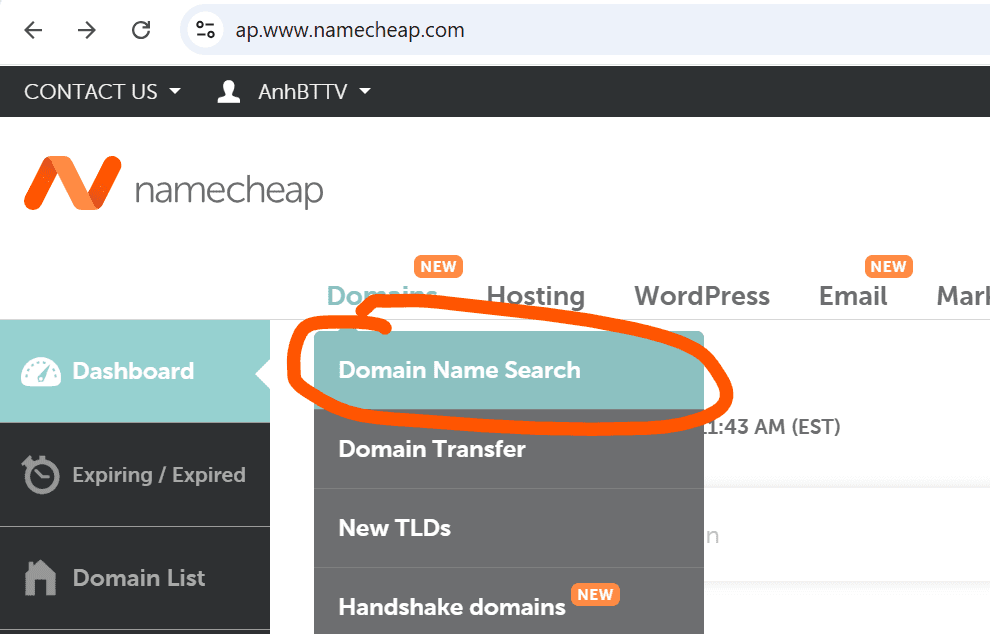
After signin, click on Domain Name Search button for searching for your domain:
Search for the domain you want — it’s usually the same as your app’s name.
Try to choose a name that’s short, memorable, and clearly reflects your app’s main feature or service. If you’re unsure, feel free to ask an AI for help coming up with a strong, brandable name.
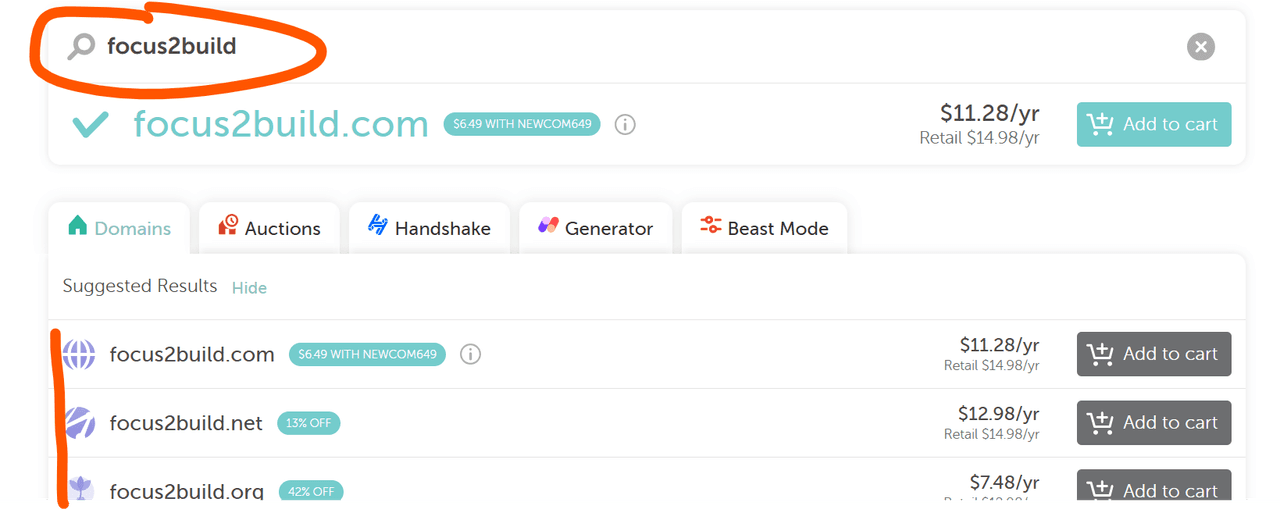
If your app is tech-related, common domain extensions include .com, .ai, .dev, and .io.
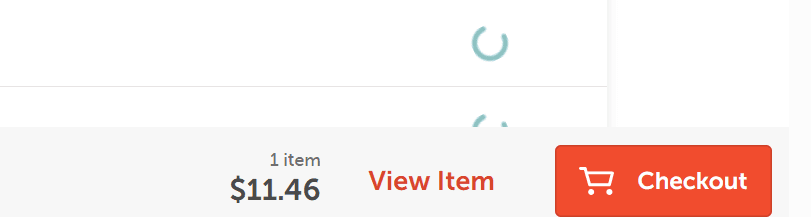
Click add to cart, to buy it. After that click on the Checkout button for payment.
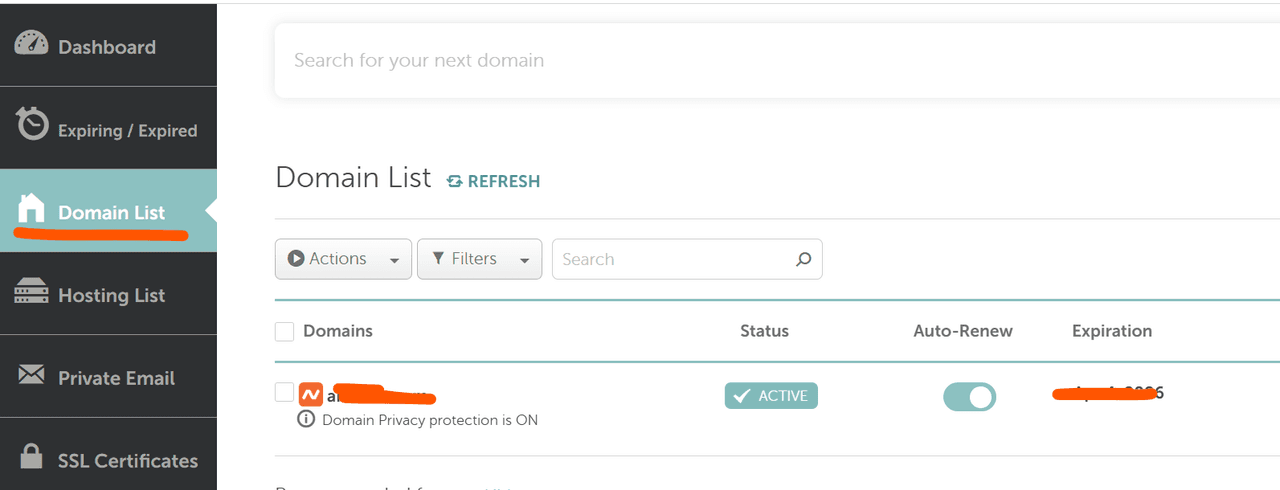
After payment go to dashboard → domain list , to view all domains:
2. Setup domain on Vercel
After buying your domain (e.g. from Namecheap), the next step is to connect it to your deployed app on Vercel. This allows users to access your app using a clean, branded URL like yourapp.com.
2.1 Add your domain to Vercel
Go to your Project Setttings → click Domains → click Add Domain Button (if have default Vercel Domain, please remove it).
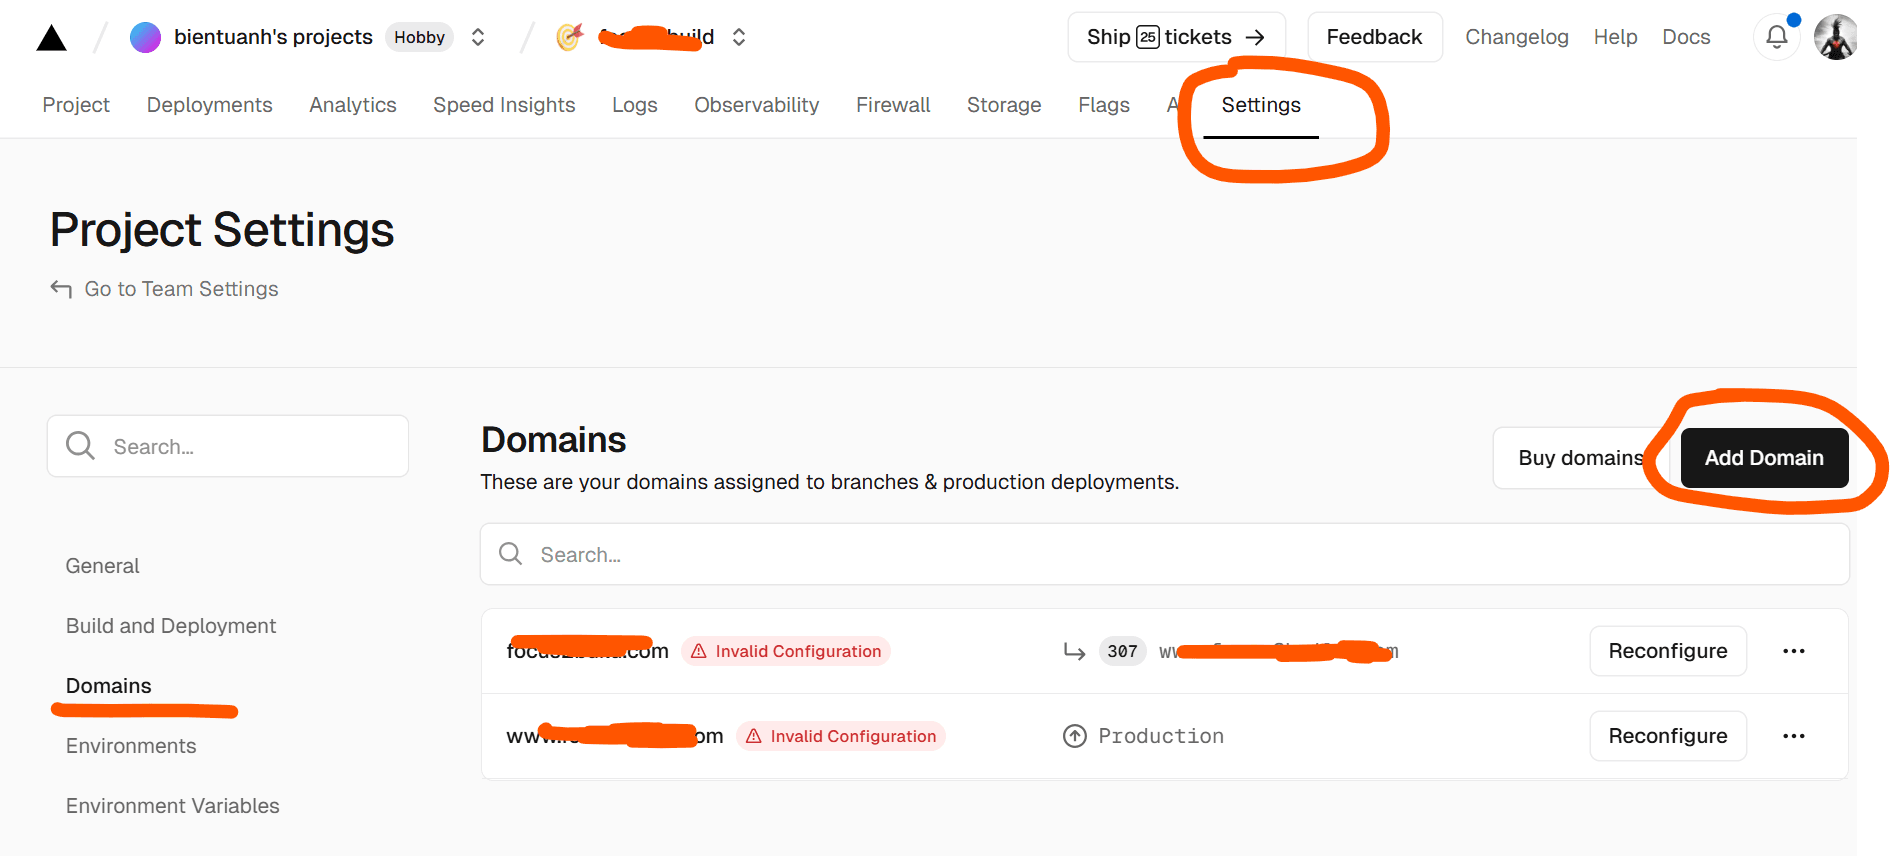
Enter the domain you purchased in the previous step.
Notes: Sometimes, you might see the “Invalid domain” error message. This can happen because, after purchasing a domain on Namecheap, it may take a few minutes to become fully active.
2.2 Update DNS settings on Namecheap
After adding the domain on the Vercel, You’ll need to edit your DNS records and point your domain to Vercel (using an A record or CNAME).
Goto Domain List → Click on the Manage button

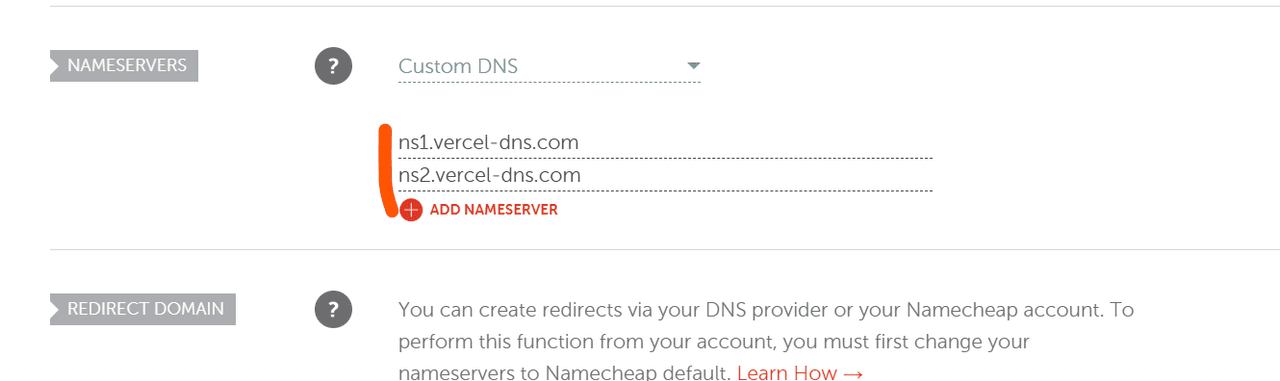
On the NameServers → Click on the Custom DNS button
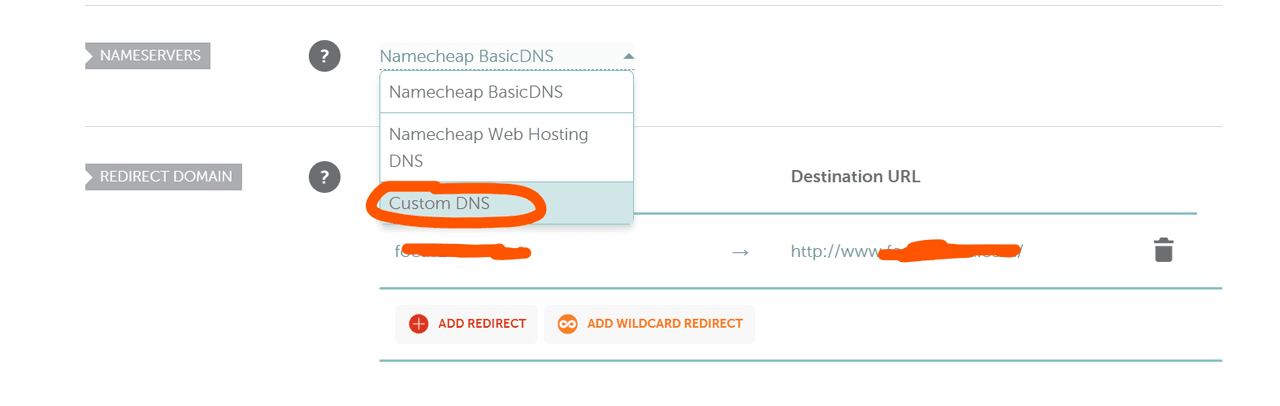
Add Vercel DNS servers into custom DNS:
- ns1.vercel-dns.com
- ns2.vercel-dns.com
Notes: It can take some minues to setting and update on Namecheap.
2.3 Fix some setup issues
I’ve already set everything up, but if you still see the “Invalid configuration” issue, please click the “Reconfiguration” button on Vercel.
After that, a modal will appear → go to the Vercel Servers tab → then click the Enable Vercel DNS button.
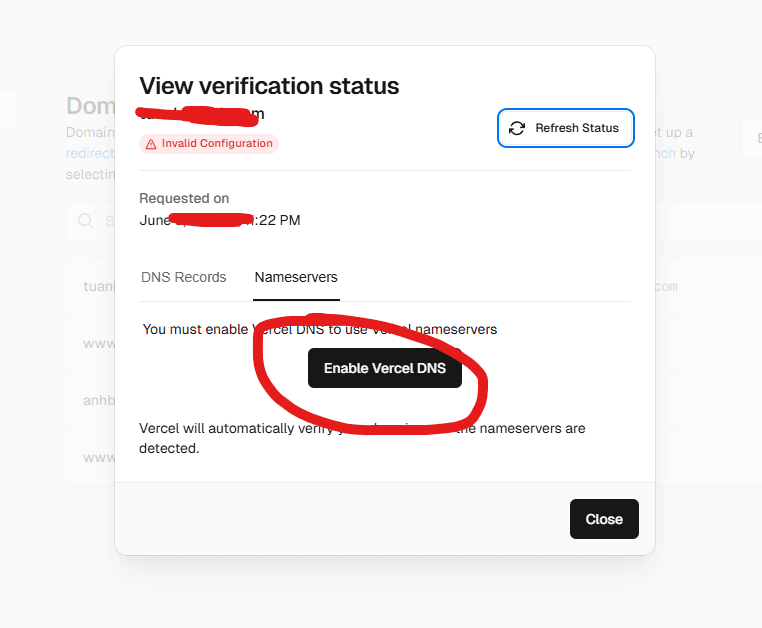
After that, wait a few minutes, every things will be setup again. You can reload the page to see the error message removed.
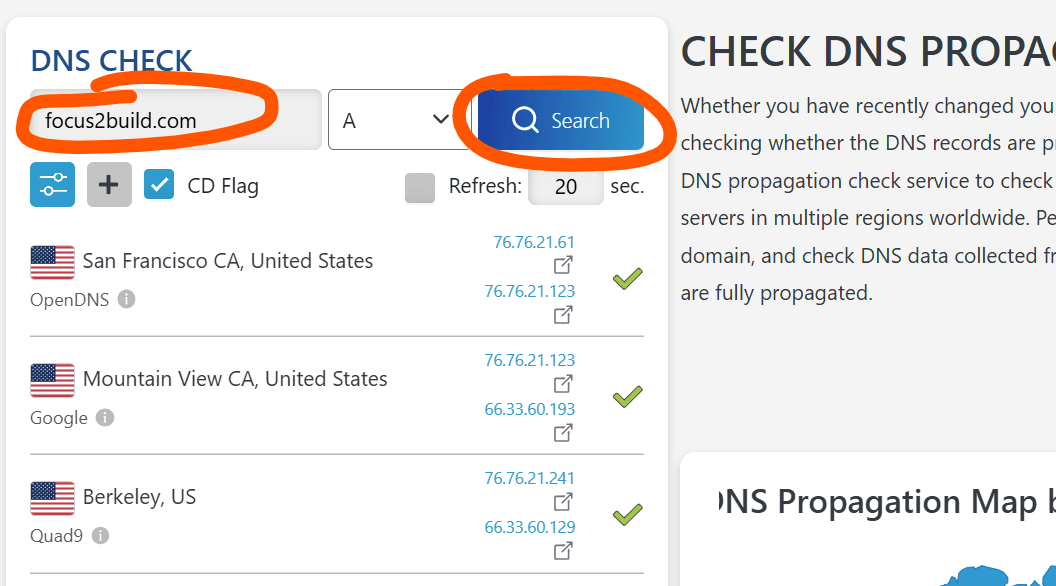
2.4 Verify the domain
After setup done, you can use this website DNS Checker to check your domain is valid on the World or not.