04 Marketing
Google Ads
Google Ads is a powerful platform to promote your app to the right audience. With precise targeting and flexible budgeting, it helps you drive installs, increase visibility, and attract users across Google Search, YouTube, and partner websites. This guide will walk you through the main steps to create and optimize your first campaign.
1. Create a Google Ads Account
Go to Google Ads and sign up with your Google account.
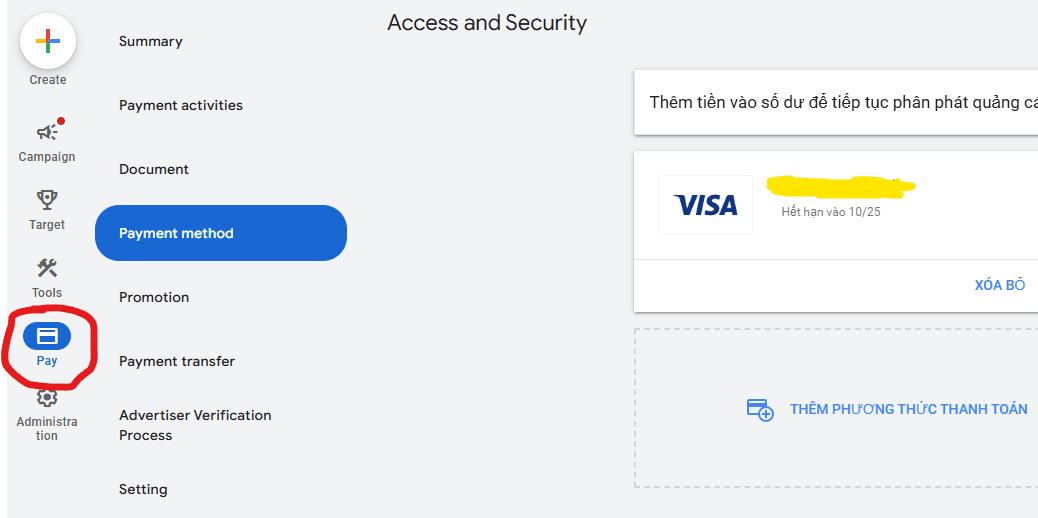
Next you need to add the payment method to pay for your ads:
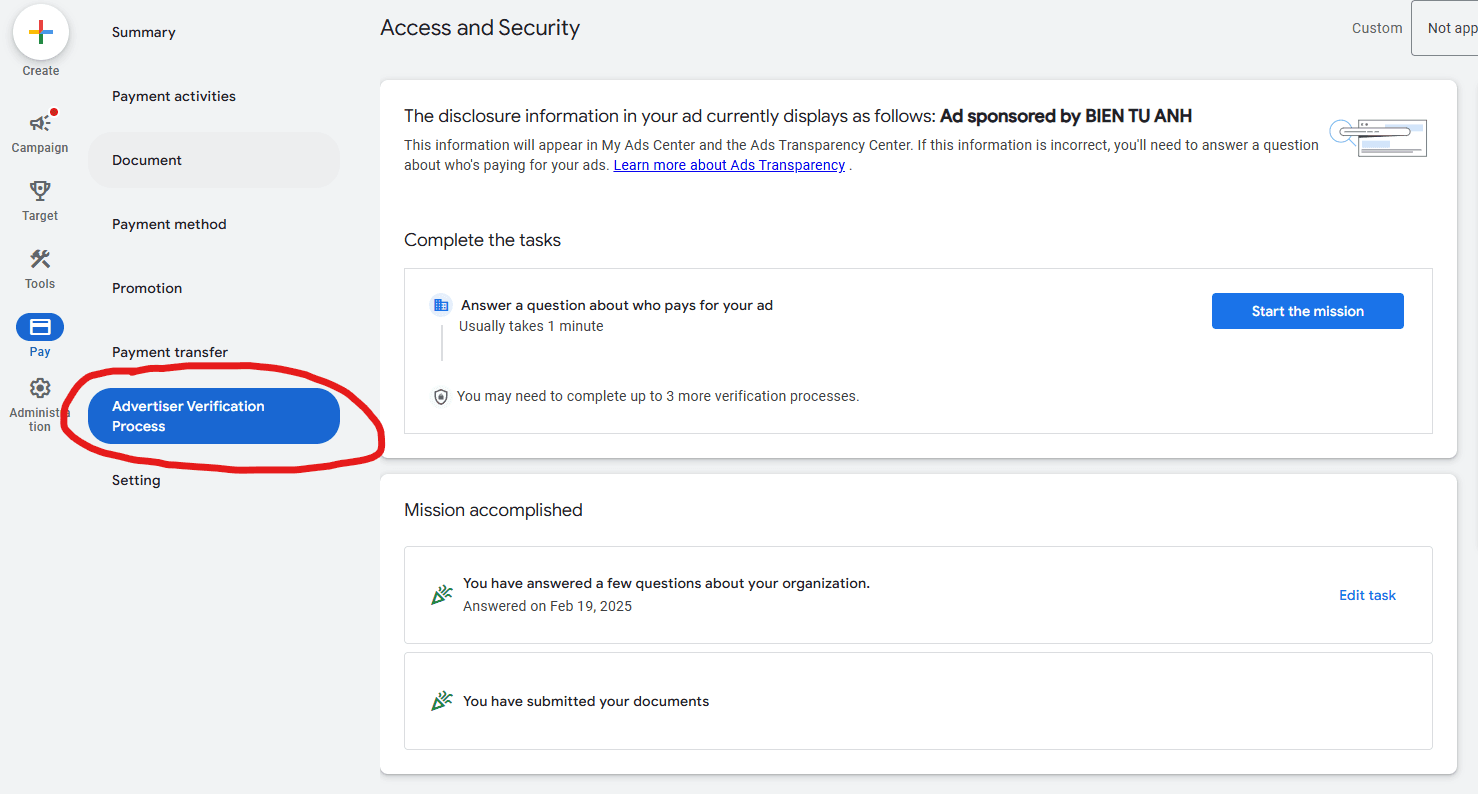
Then you need to verify some of your personal information in Advertiser Verification Progress tab:
All setup done!!!
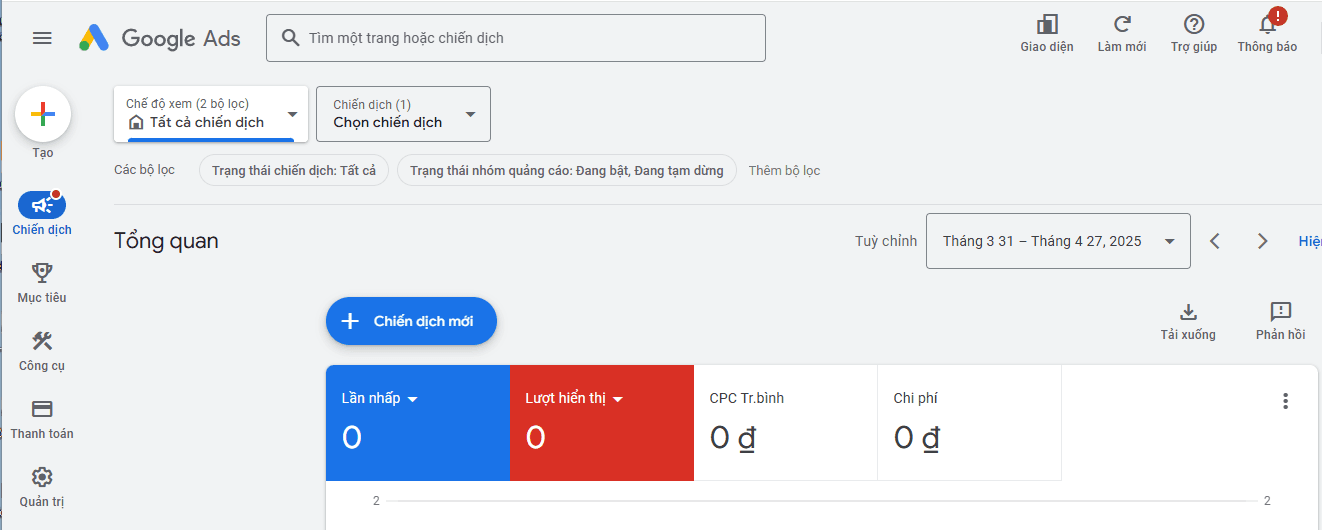
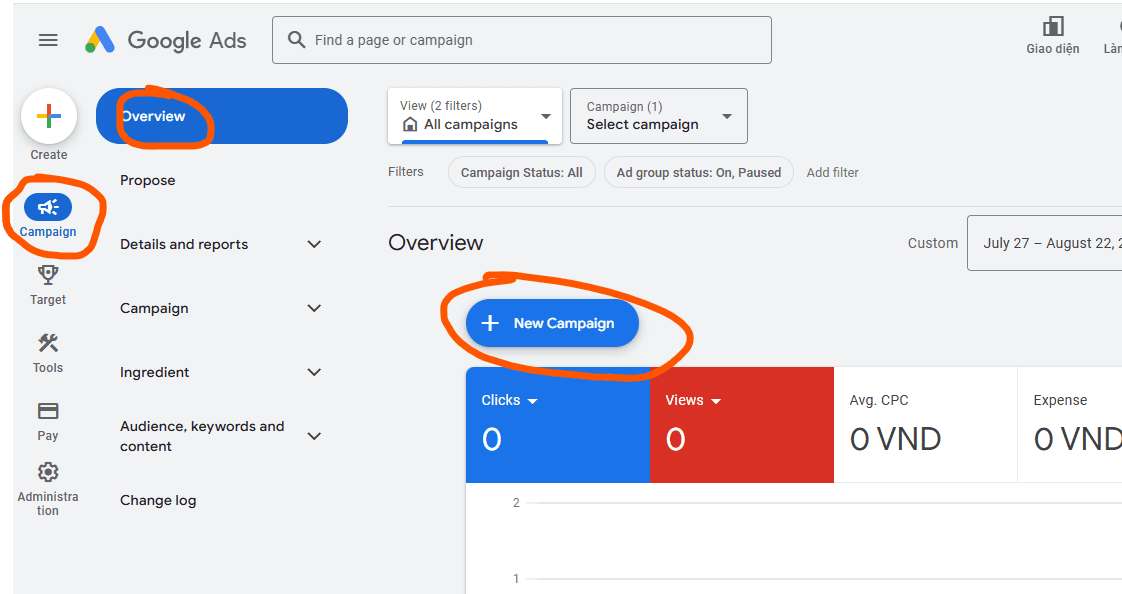
2. Create a campaign
Go to Google ads -> Campaign -> Overview -> Click New Campaign button:
2.1 Choose a Campaign Goal
After click Create new campaign, we need to select a goal that matches your objective, if you build the web app, you can choose Website Traffic, if you build the mobile app you can choose the App advertising:
- App advertising (drive installs)
- Website Traffic (send users to your landing page)
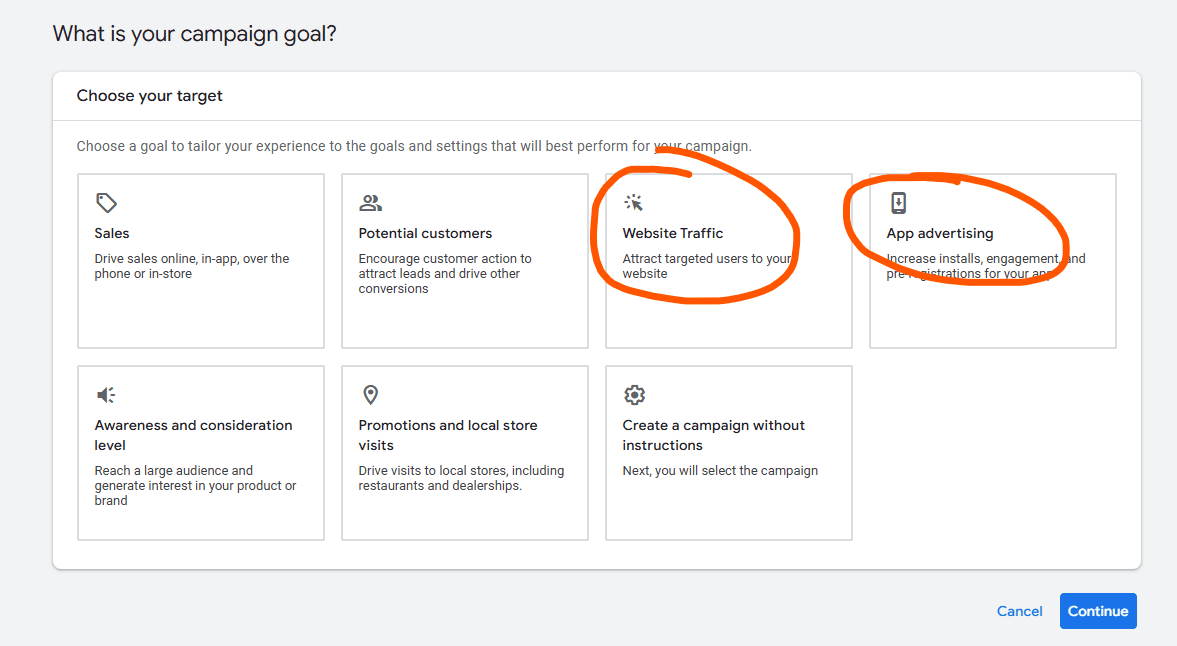
In our case we build the web app, so I choose the Website Traffic.
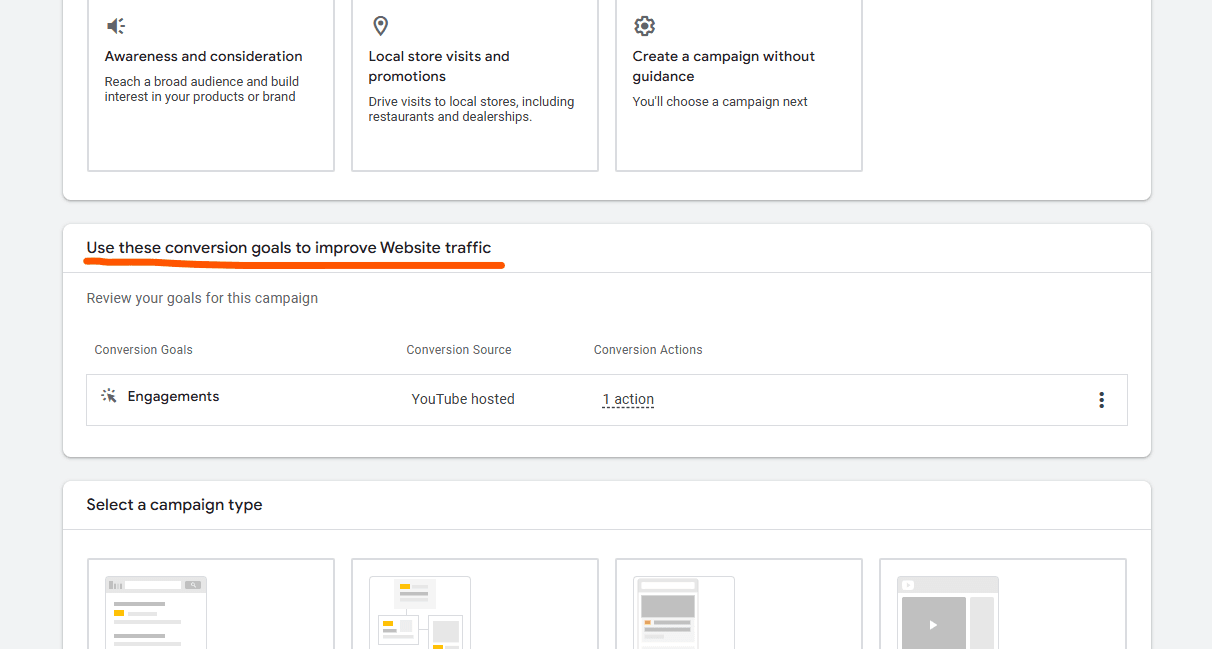
Next we choose the Conversion goals:
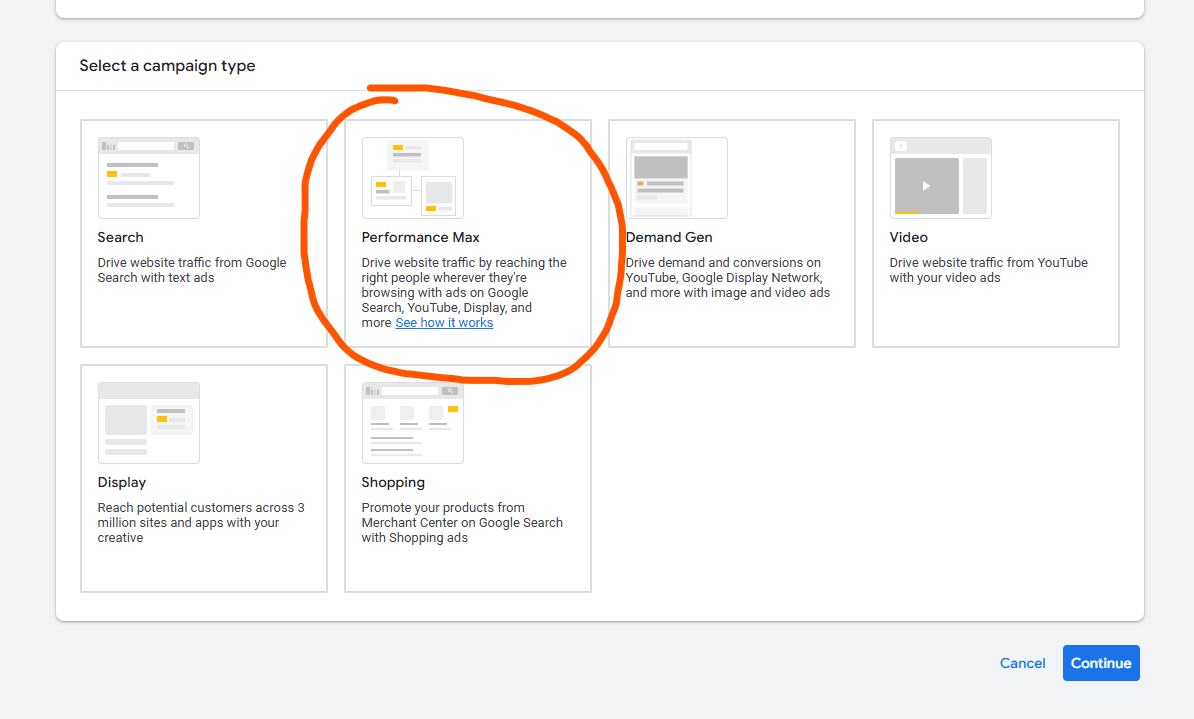
Choose the campaign type, I recommend for starting and easy we choose: Performance Max.
For app promotion across multiple Google platforms, Performance Max is the best option. It allows you to reach users on Google Search, YouTube, Display Network, Gmail, and Discover, while Google’s AI automatically optimizes your ads to maximize installs or website visits.
Then add the landing website URL where users will be redirected after clicking on the ads button:
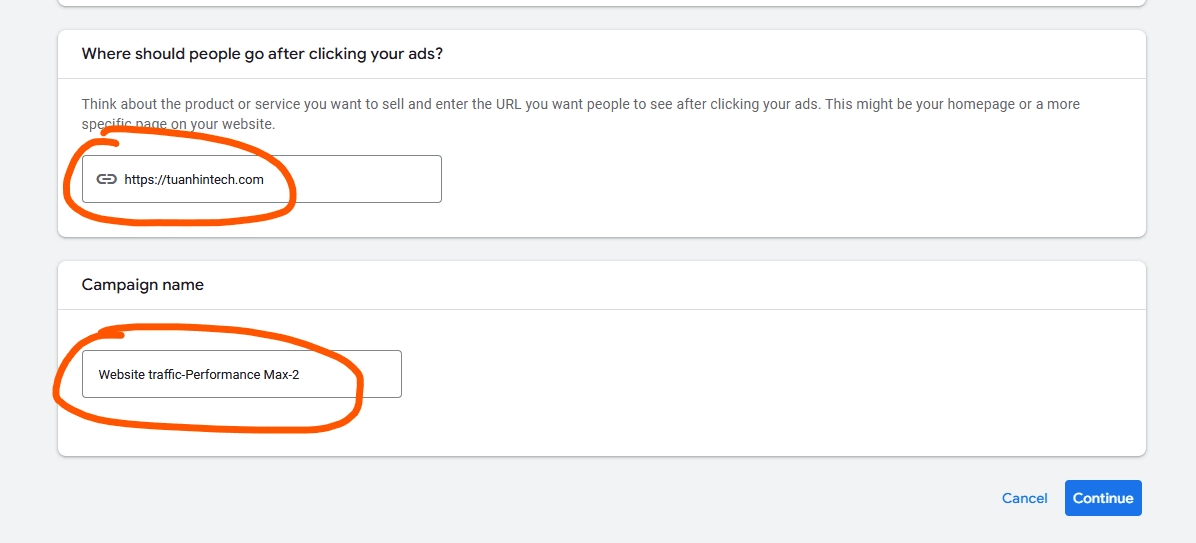
Click Continue button.
2.2 Set Your Bidding
For starting, we just use all default config (do not change anything):
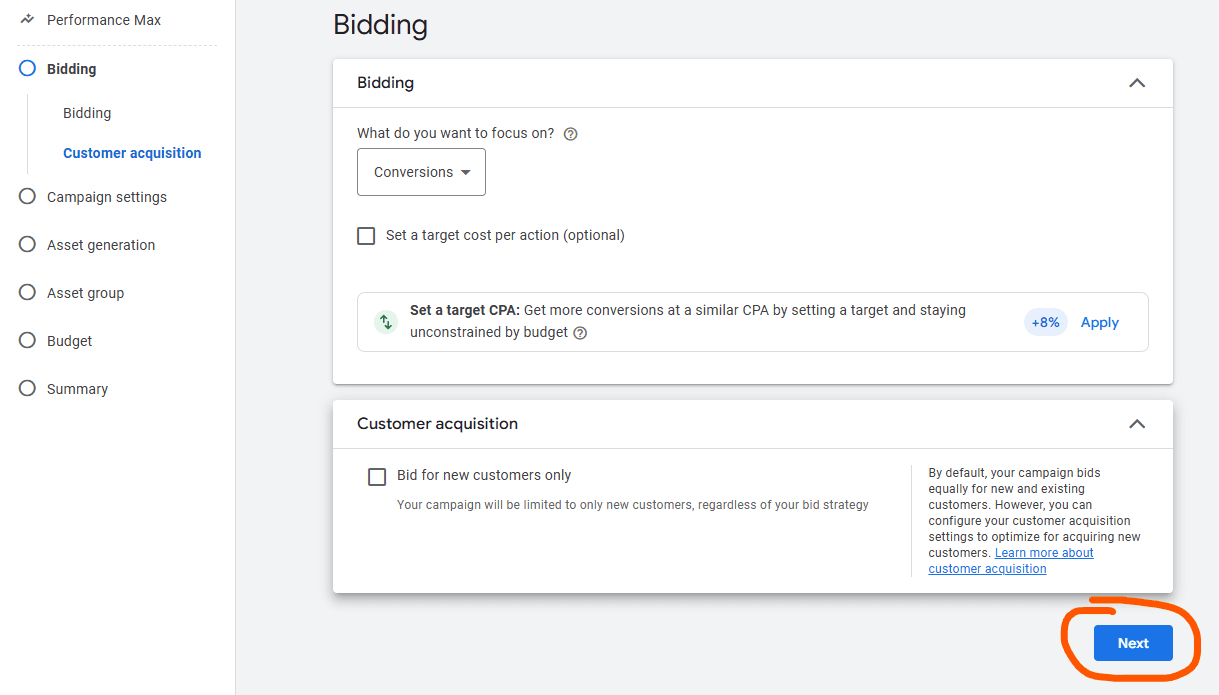
Click Next button.
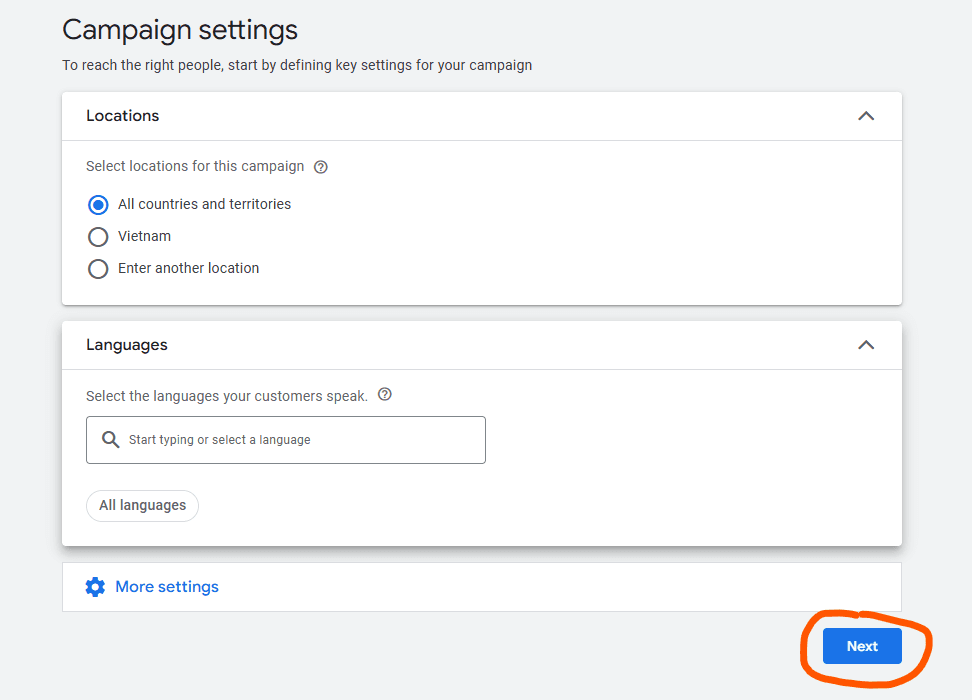
2.3 Define Your Target Audience
Set up the countries and languages where your app will be used:
Next, you can set up more advanced information such as: the start date end date, specific days of the week, the devices where the ads will be run, and Age of Age of audience, ...
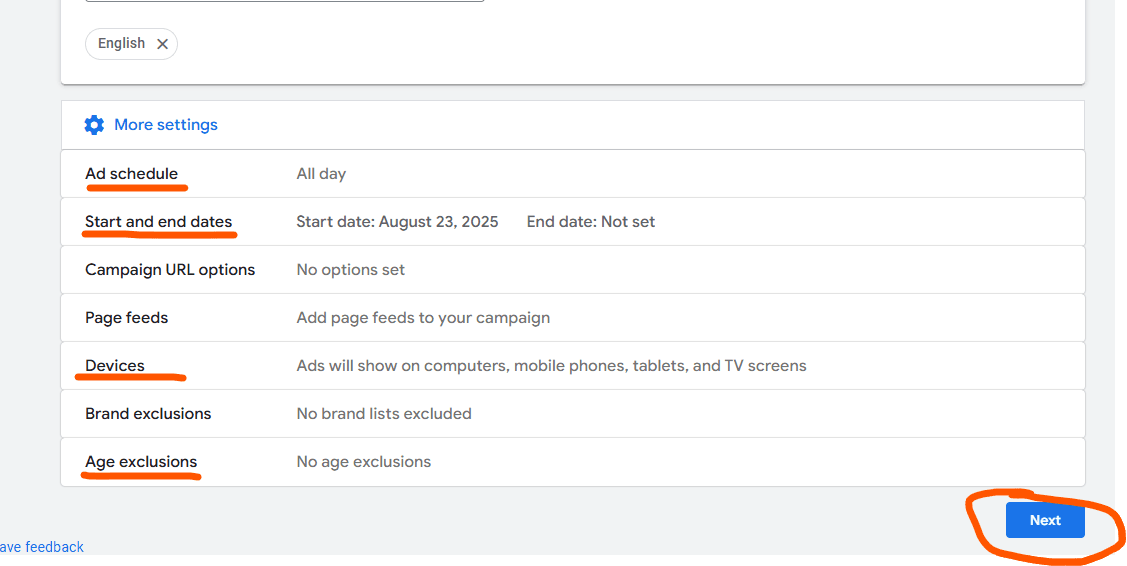
If you do not setup, Google Ads will setup default.
Then we setup Asset generation, just click Generate assets button:
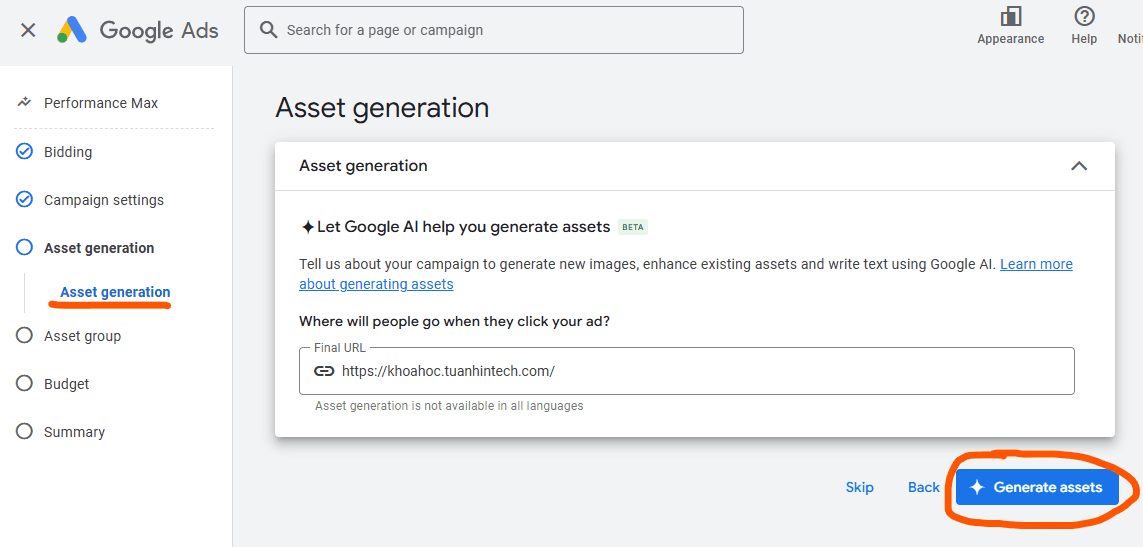
Next, add some information, images, videos, ... for Google Ads to display your ads to the right audience:
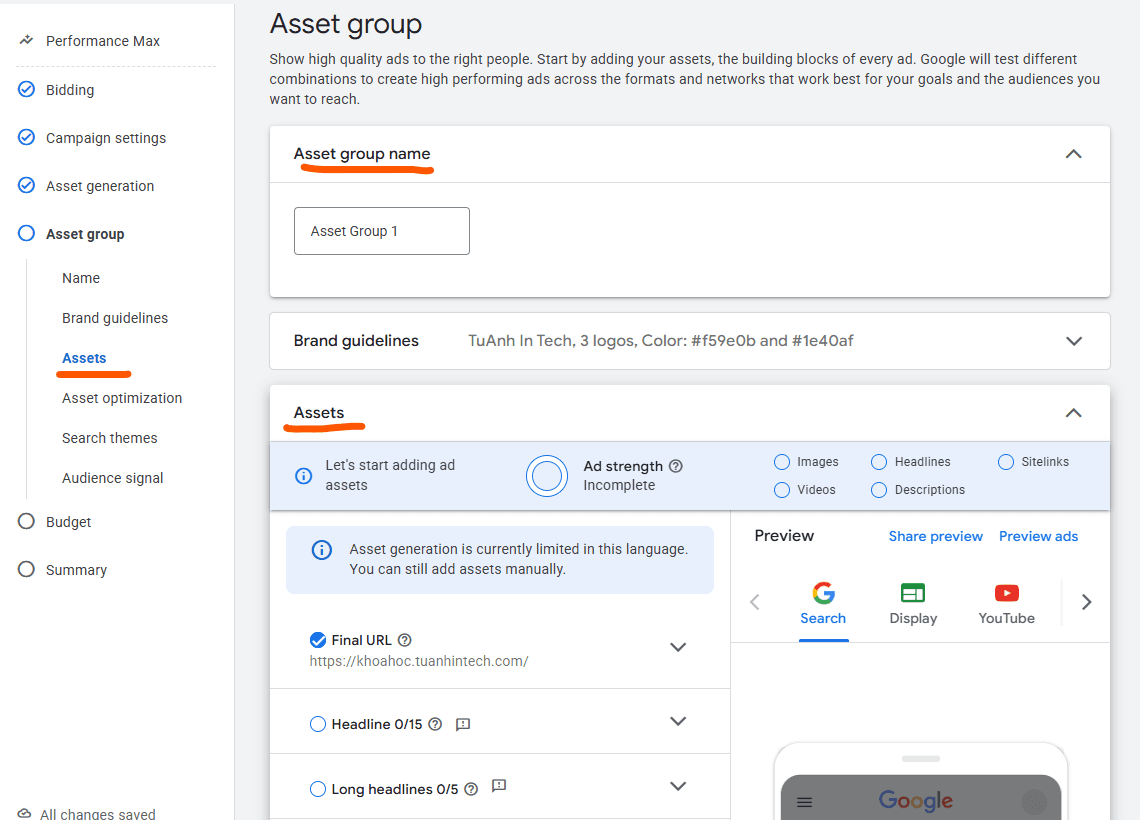
You can preview the ads that Google Ads will show for audiences on the right side:

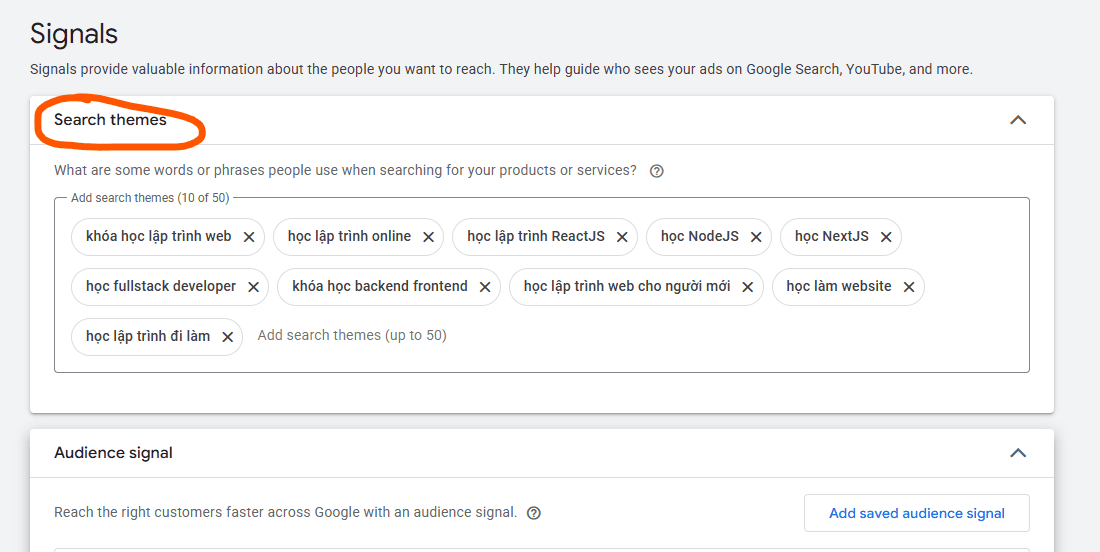
Then setup the Signals, Signals provide valuable information about the people you want to reach. They help guide who sees your ads on Google Search, YouTube, and more.
On the Search themes section, you add all keywords of your app, they help Google Ads know who care your ads:
Then setup Audience Signal, Audience Signal helps Google Ads identify the right people faster. You can define who is most likely to be interested in your course by adding demographic details (age, gender), interests (technology, programming, web development), purchase intentions (online courses, IT training), or your own customer data (email lists, previous learners).
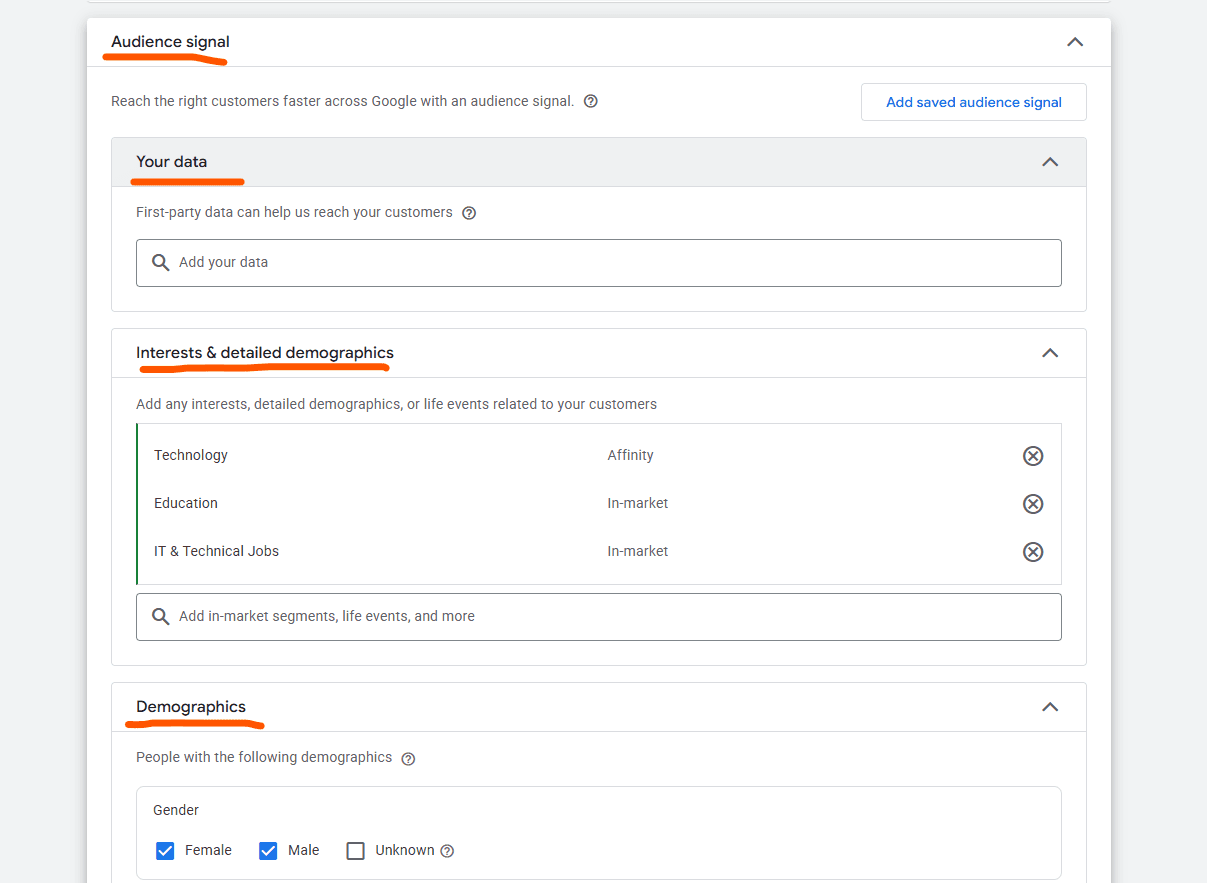
All setup for target audiences done!!!
2.4 Setup budget
After setup target audiences, now we config the budget for our ads.
You can use the recommend from Google Ads (it is base on your ads config), or you can custom your budget. I recommend you should use recommend from Google Ads, later if you want to improve it you can edit this value later:
2.5 Review and Launch Your Campaign
After setup all ads config, the last step is that we need to review all the ads config:
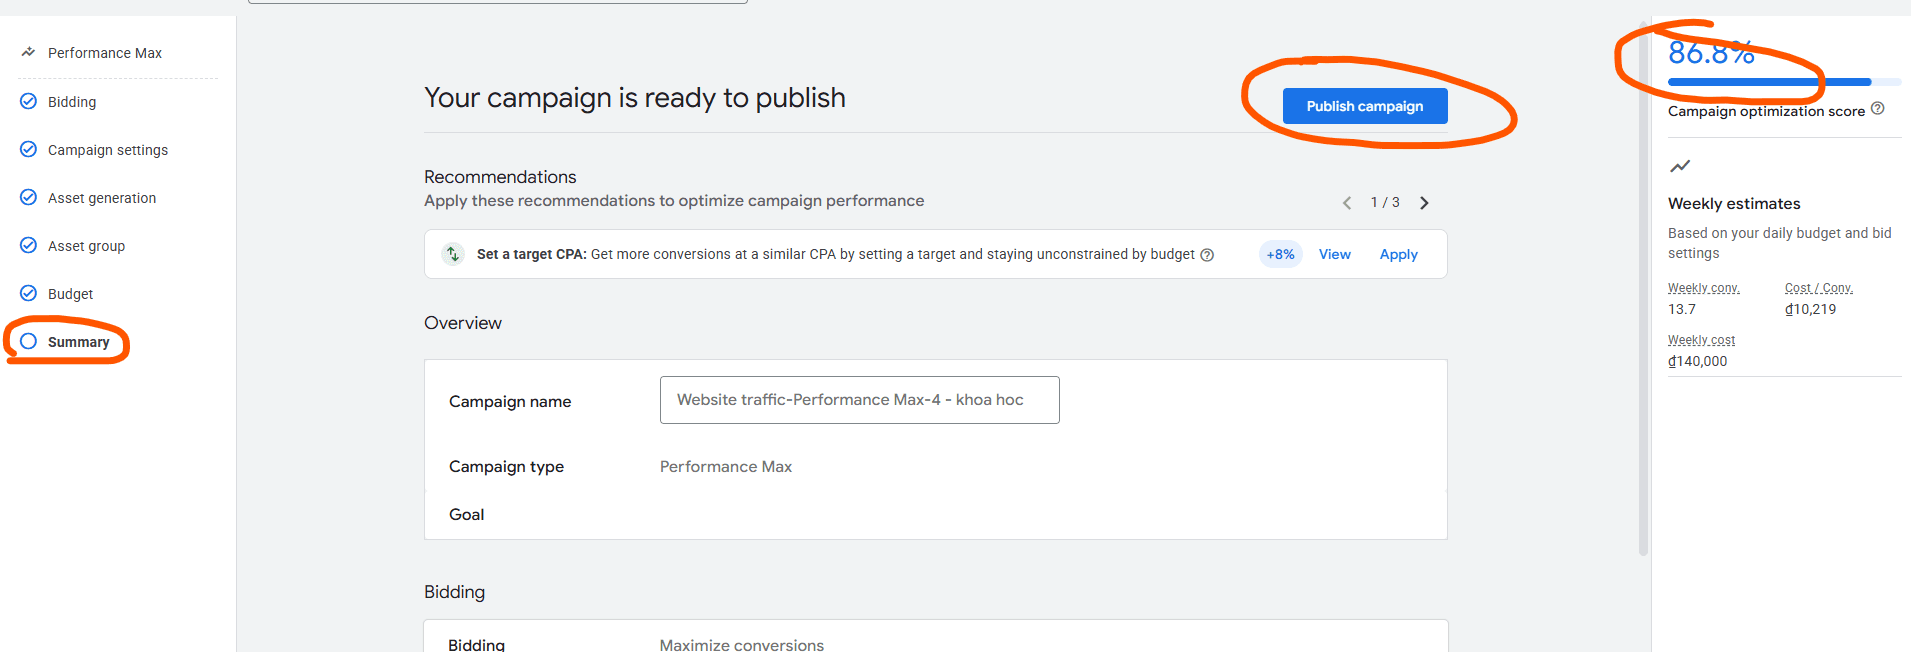
After review, then click Publish campaign button to publish your ads.
Now you can go to Campaign -> Campaigns tab to view a new campaign that we just created:
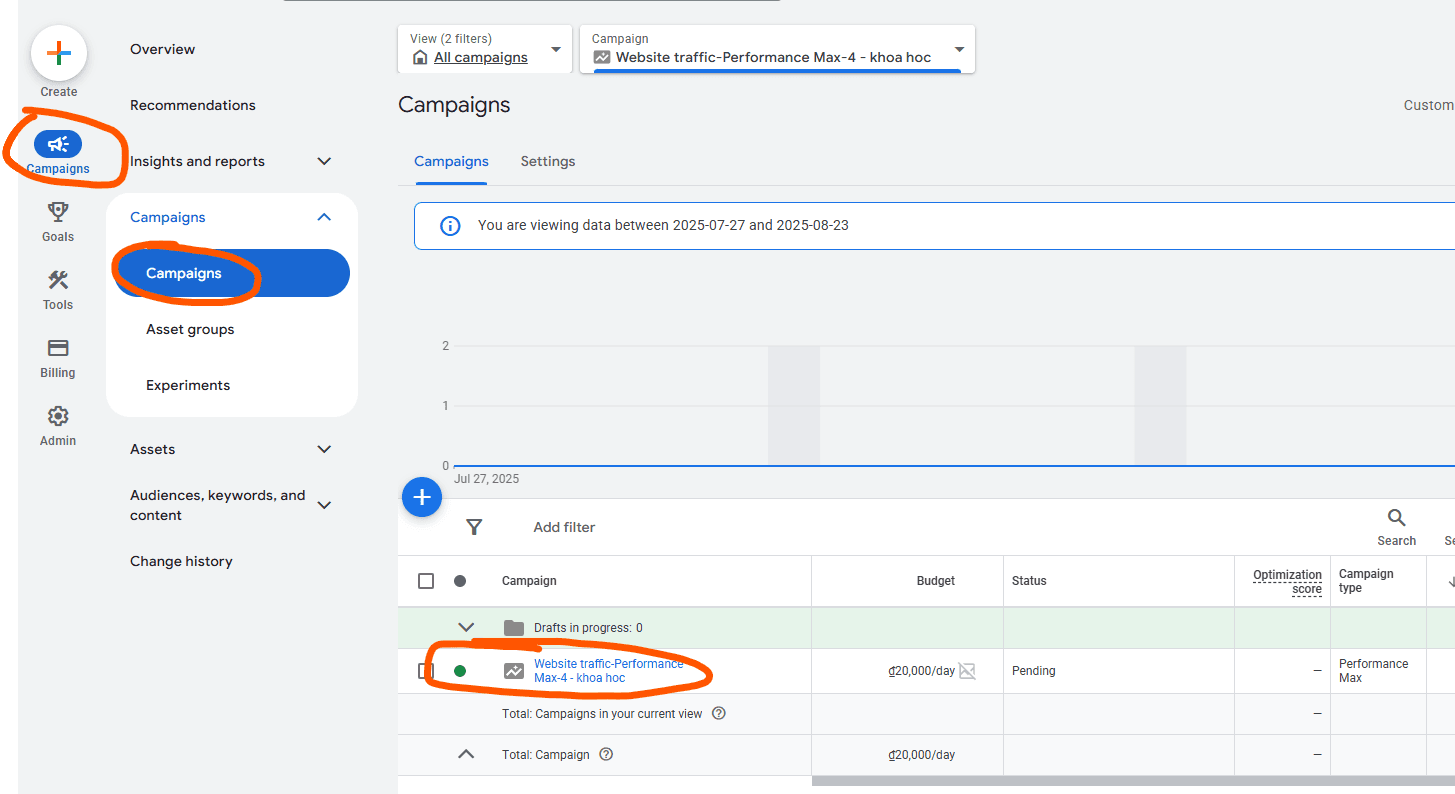
All done!!!
3. Monitor and Optimize Performance
You can track metrics like impressions, clicks, installs, and cost per install every day for getting more performace information about the ads.
After that you can adjust budget, targeting, or ad creatives based on performance.
Scale up if results are positive, or reconfigure if needed.