02 Build MVP fast
Store source code on the Gitlab
GitLab is a popular platform for hosting and managing your source code using Git. By pushing your project to GitLab, you can easily track changes, collaborate with others, and prepare for smooth deployment and CI/CD workflows later on.
You can use GitHub, Azure DevOps (by Microsoft), or Bitbucket (by Atlassian), depending on your preference and experience. Basically, they all work in a similar way. Note that Azure DevOps and Bitbucket are often used in enterprise environments and may require a paid plan.
1. Init Git on source code
Open your terminal in your current source code (you opened with VS Code) then run this command:
bashgit init
This command allows Git to start managing your source code by creating a .git folder in your project directory.
After that, you can use a command - git status to check all status of files in your project:
bashgit status
Then you can use this command below to add all files change into staged area:
bashgit add .
Then you can use this command below to commit all changed files to first commit:
bashgit commit -m "Initialize a new project"
You can view and check the history commits by using this command below:
bashgit log --online --graph
2. Create a new project on Gitlab
2.1 Signin into Gitlab
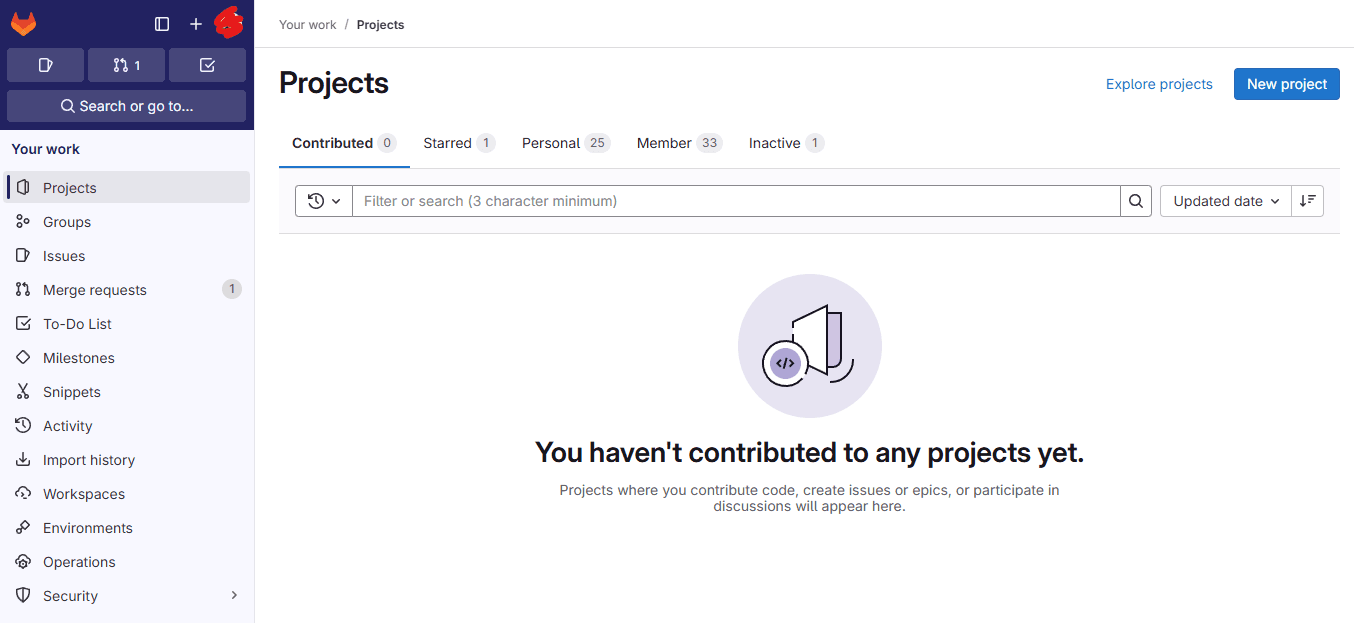
Go into the Gitlab homepage, sign-up a new account or you can signin by Google account. After signin, you will be redirected into the Dashboard page like this:
2.2 Create a new project
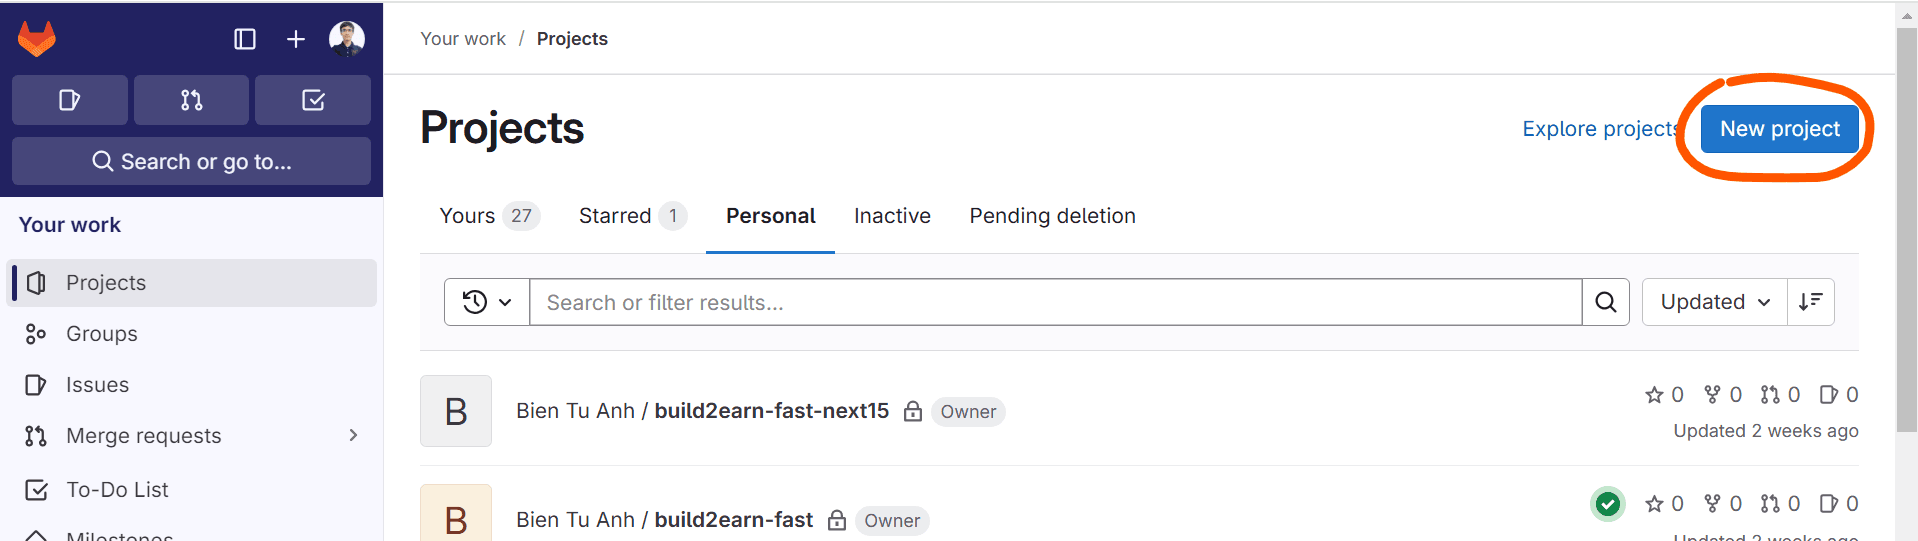
Click New project button to create a new project:
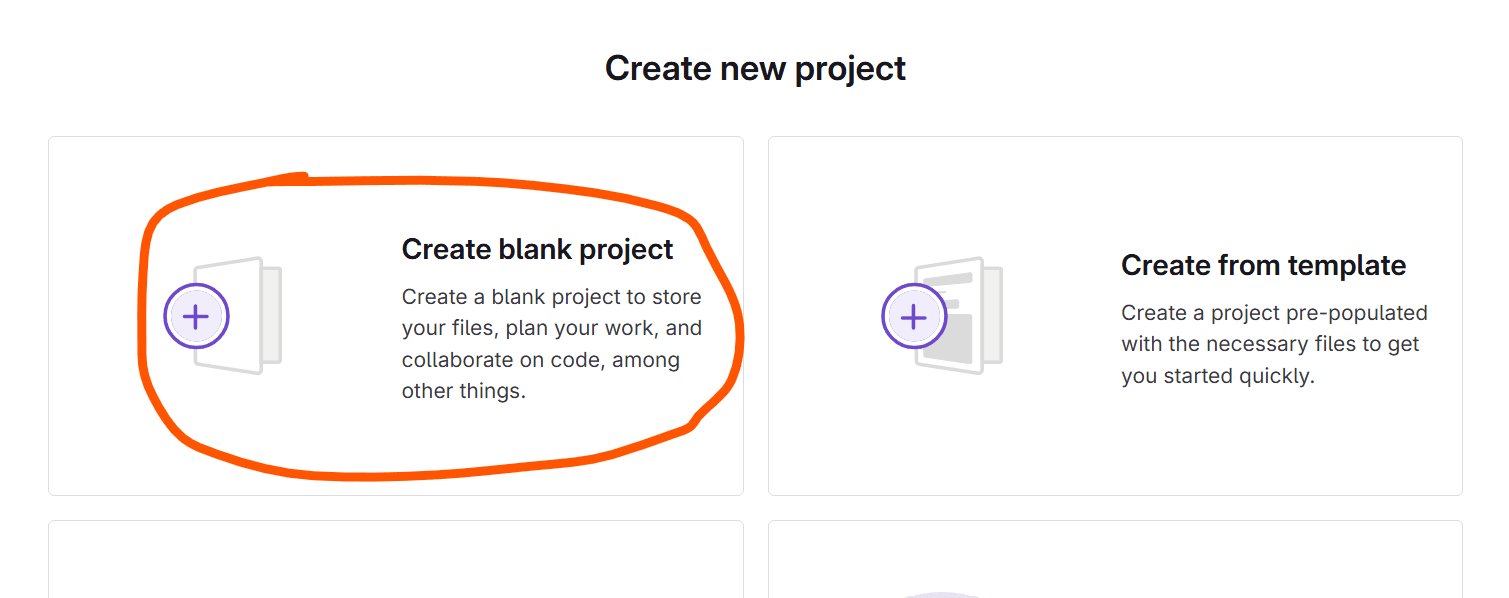
Click Create blank project button:
Fill all information:

Notes:
- Check on the option Private on Visibility Level section, that means nobody can see your source code. Because this is your site project, is not open source project, so you should not let other people can see your project.
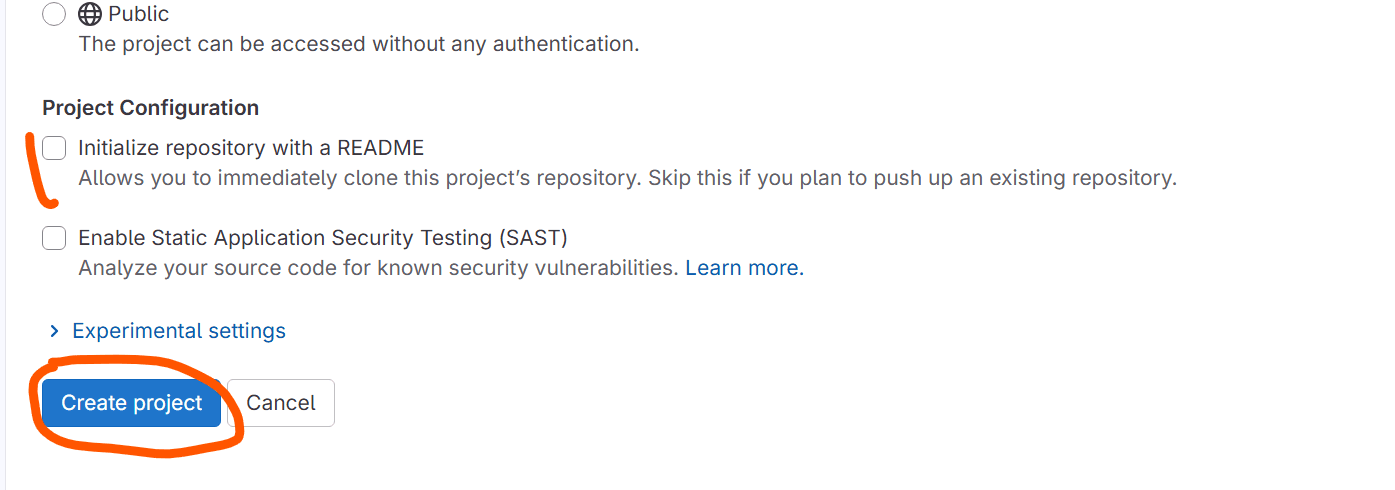
- In Project Configuration section, do not check Initialize repository with a README (we do not need Gitlab auto adds README file into our project, the README file is already included in our source code).
Click Create project button:
3. Push the codes into the Gitlab
3.1 Copy remote repo URL:
Go into the new project which you have created on previous step. Click on the Code button:
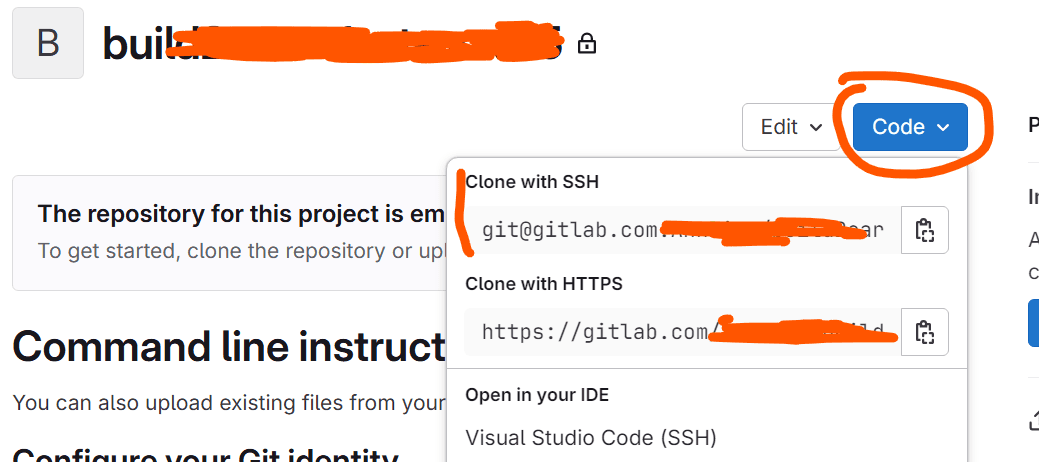
You can choose either the HTTPS URL or the SSH URL. If you use HTTPS, you’ll be asked to enter your GitLab account info each time you clone the repository. If you use SSH, you won’t need to do anything – it just works automatically.
To keep it simple, just choose the HTTPS URL for now. If you want to use SSH, you'll need to generate a key on your computer and add it to GitLab. You can check out my tutorial. on how to use SSH keys — it's much more convenient than HTTPS in the long run.
Notes
I recommend using an SSH key when working with GitLab (or GitHub), as it’s convenient and, in most real-world projects, people almost always use it.
3.2 Push code into the remote repo:
After copy the remote repo URL, we need to connect the the local repo and remote repo.
We use the git remote add command to do that, replace your remote repo URL (you copied) into this command below:
bashgit remote add origin <remote_repo_URL>
Use this command to check if the remote was added successfully:
bashgit remote -v
After that, push the local repo into the remote repo:
bashgit push origin master
Notes: Your default branch might be named either main or master. You can check your current branch name by running git status or git branch.
After pushing:

Now your source code was stored on the Gitlab server 🎉.