02 Build MVP fast
Setup Hubspot live chat
Live chat with HubSpot helps you connect with visitors instantly, providing real-time support and answers. It improves customer experience by making communication faster and more personal. With chat conversations stored in your inbox, your team can easily track, follow up, and build stronger relationships.
In my code template, HubSpot Live Chat is already integrated and handled. Now, you just need to create a chat flow in HubSpot and fill in the HubSpot_ID value in the .env.local file.
1. Signin Hubspot
Please signin the Hubspot, if you do not have the account, please sign up or you can sign in by Google, Gitbhub, or Mirosoft.
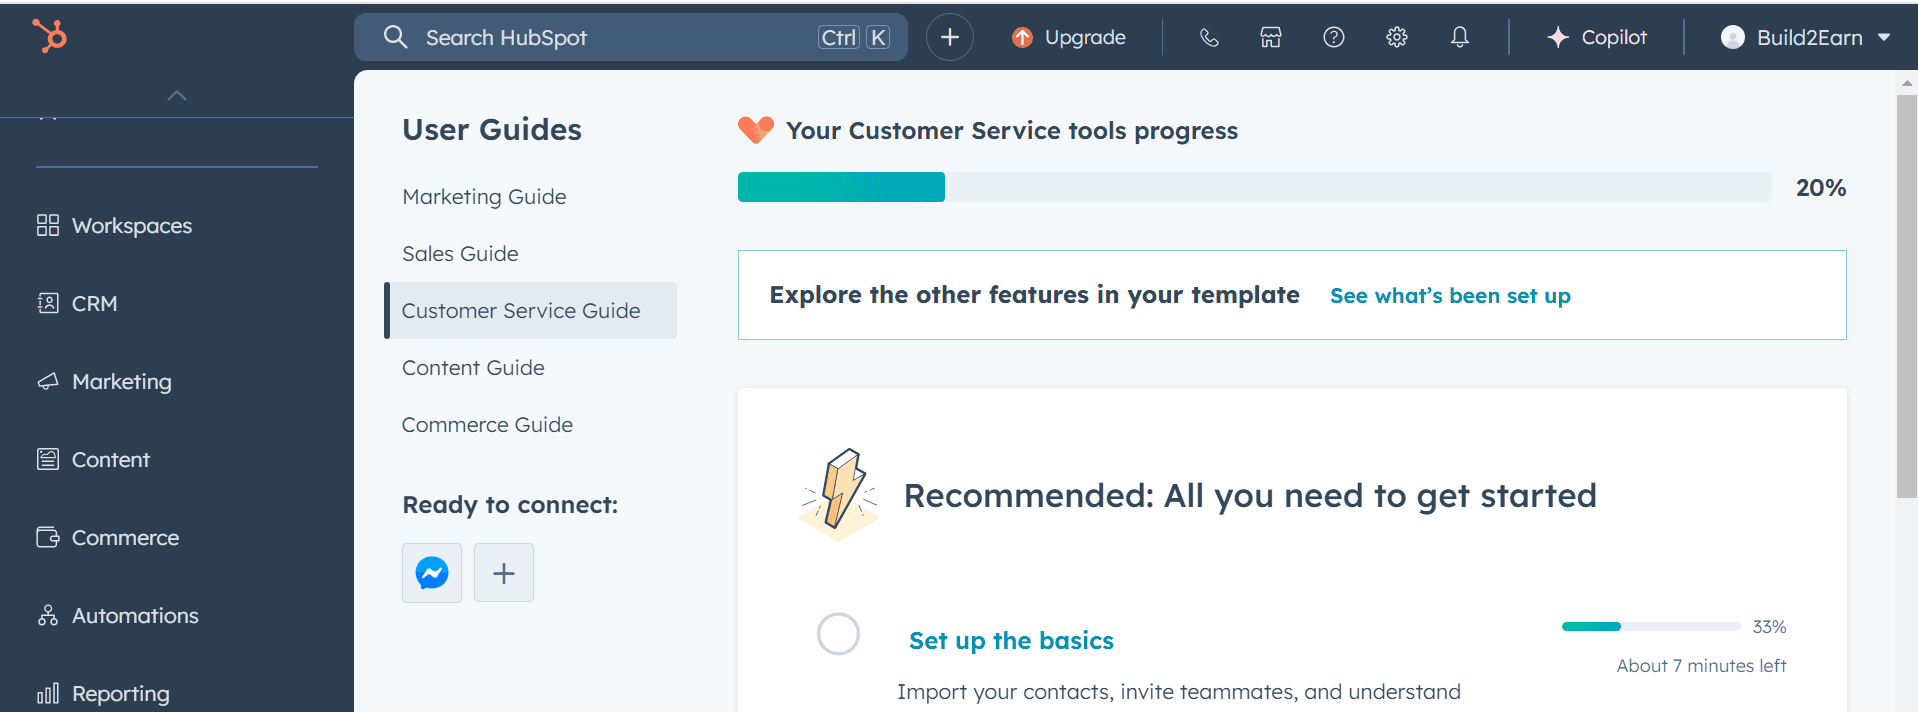
After signin you ger into the dashboard like that:
2. Create a new chat flow
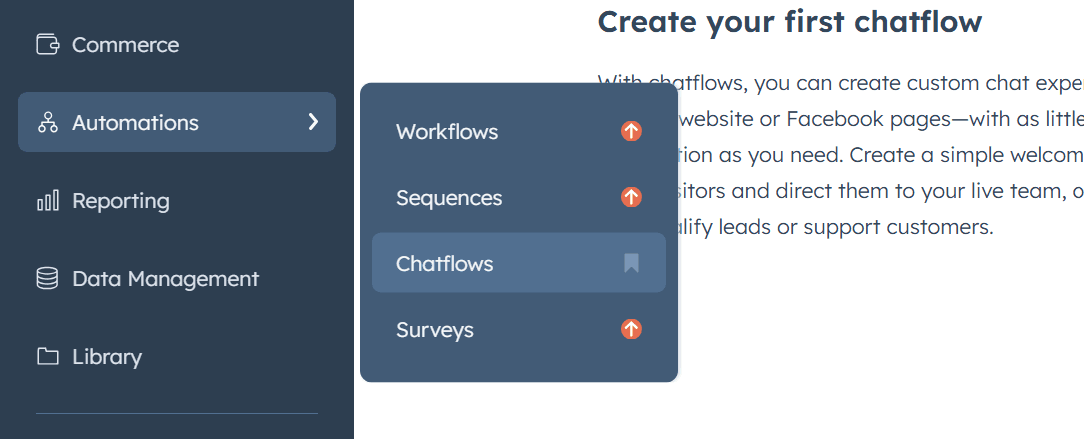
In the left navigation, go Automations -> Chatflows:
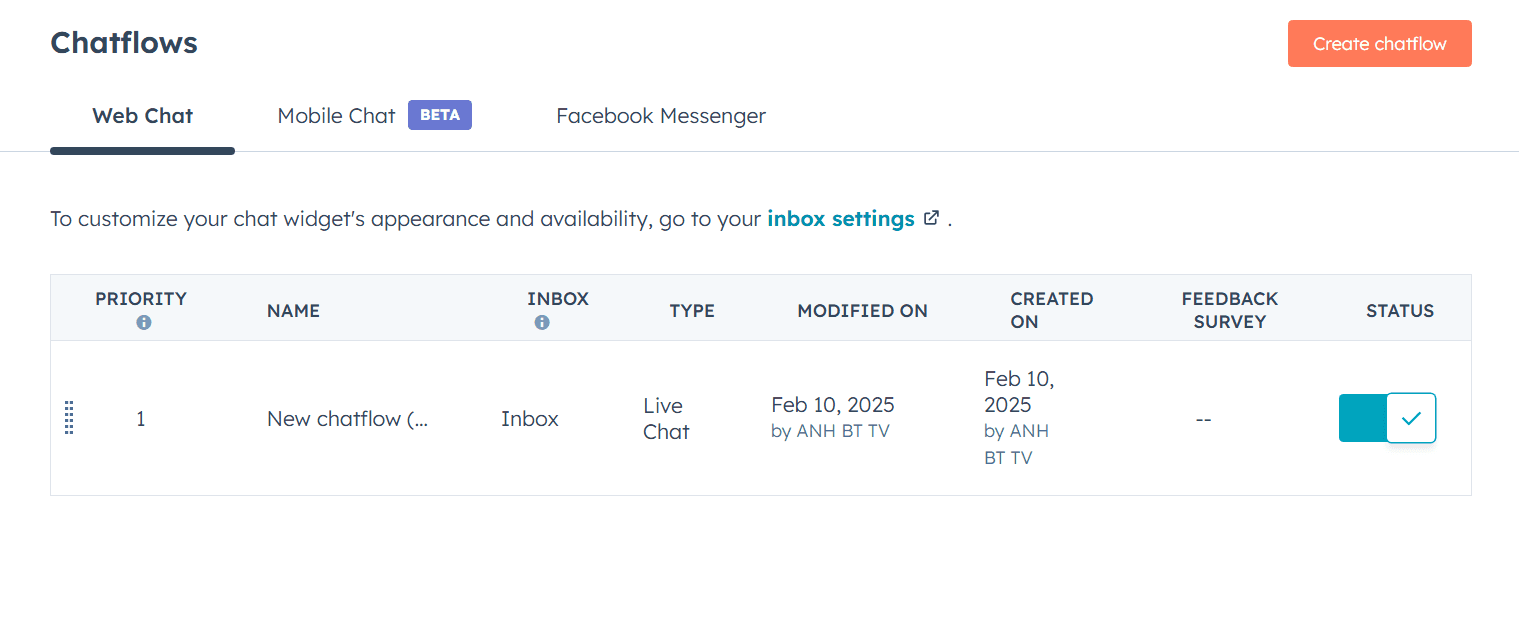
In the Chatflows page we click "Create chatflow" button:
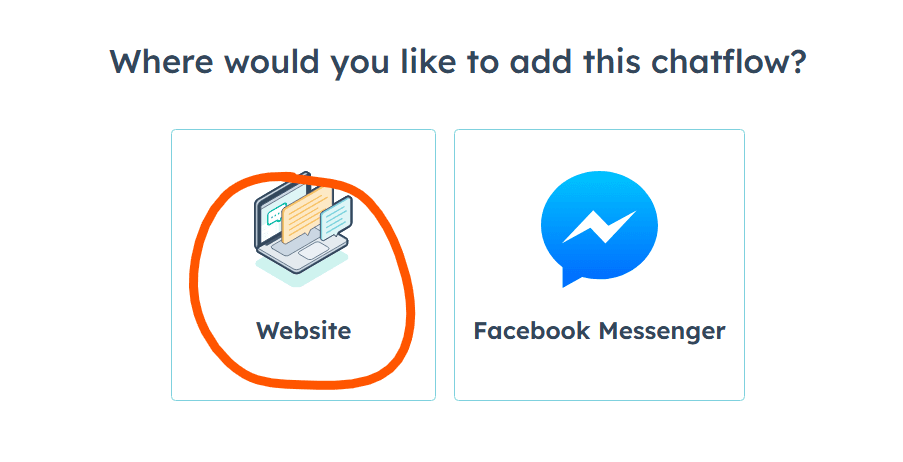
Choose "Website" option.

Choose "Live agent" option.
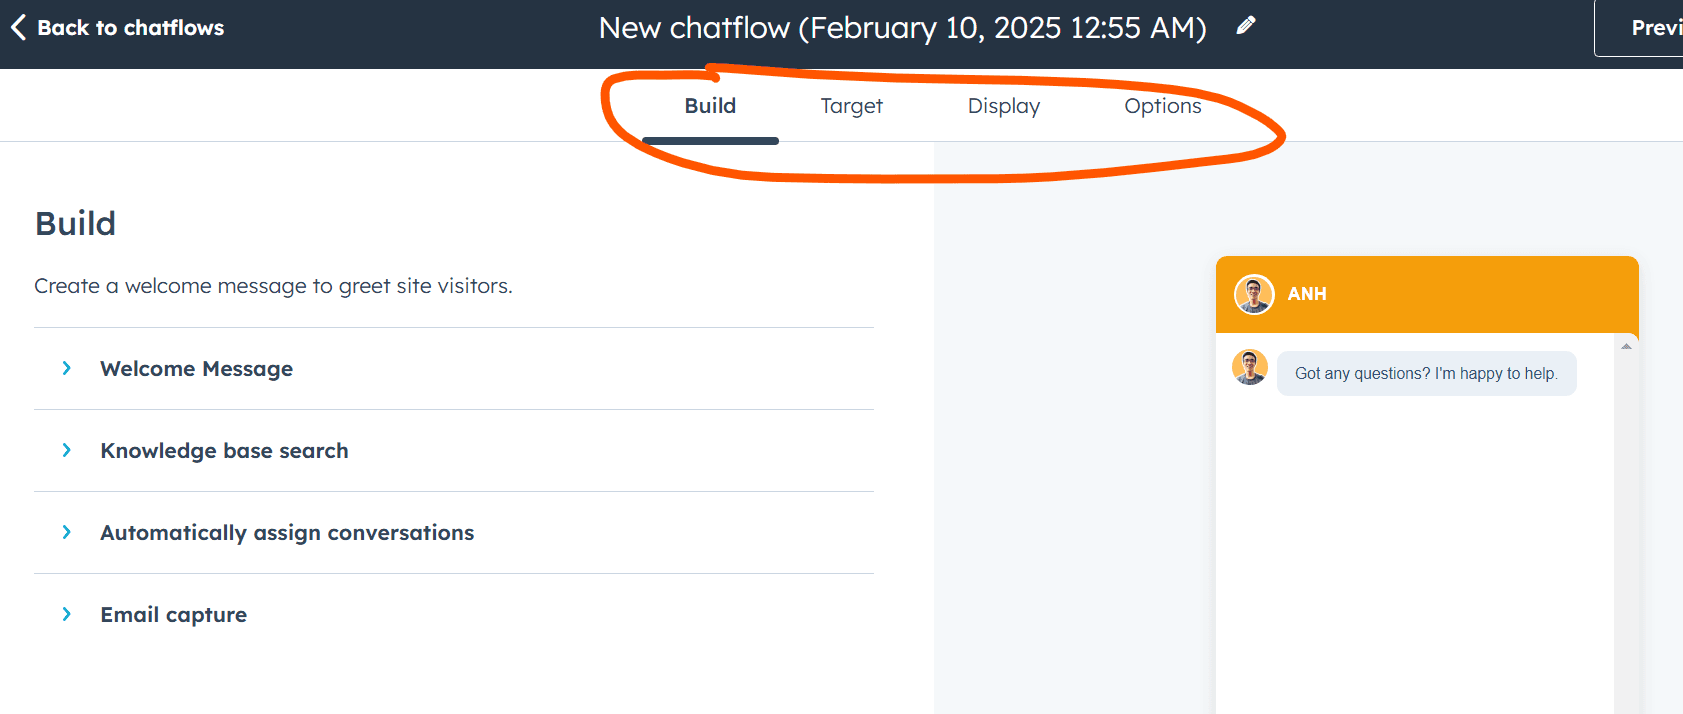
In this settings, we can setup the "welcome messages", setup the page URL which you want to show the live chat, setup the avatar which shown on the live chat, ... After settings, you can get back to the chatflows.
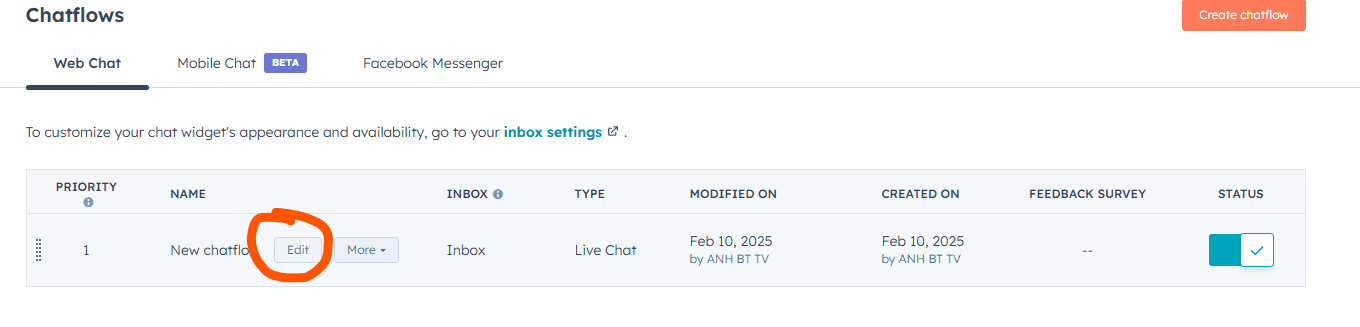
3. Custom look and fell of live chat
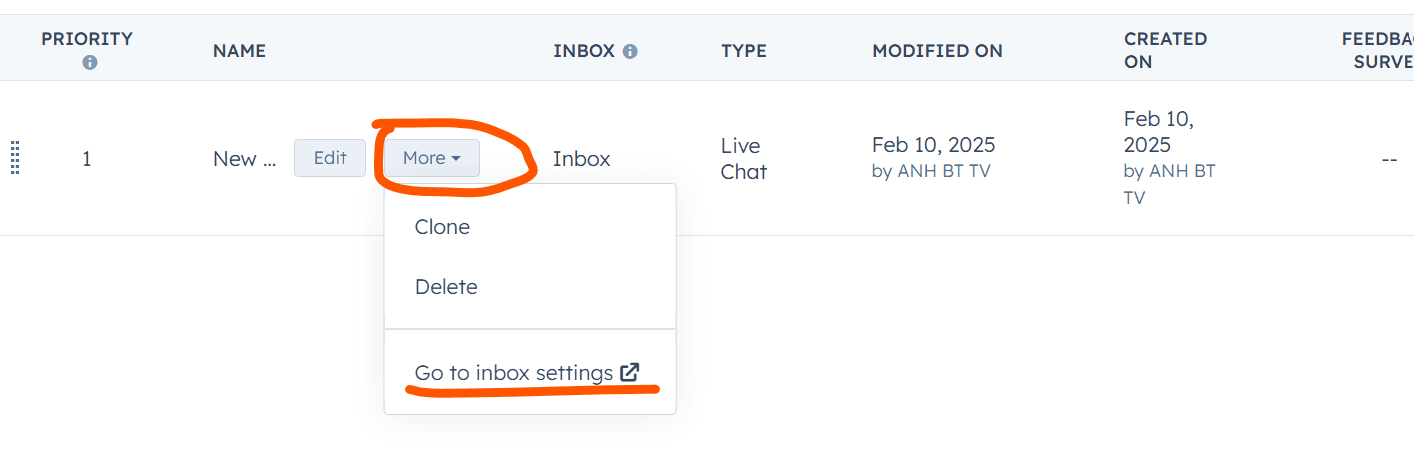
In this chatflows page, click on the More -> Go to inbox settings:
3.1 Custom the live chat color
You can choose the color for your live chat base on your brand color:

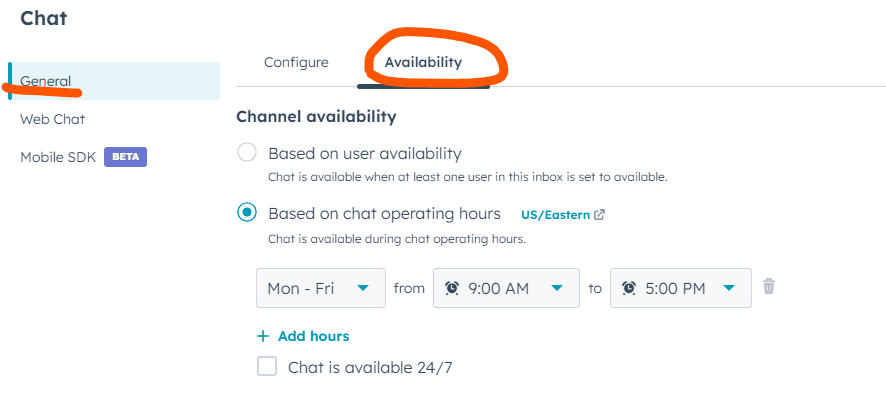
3.2 Custom available time
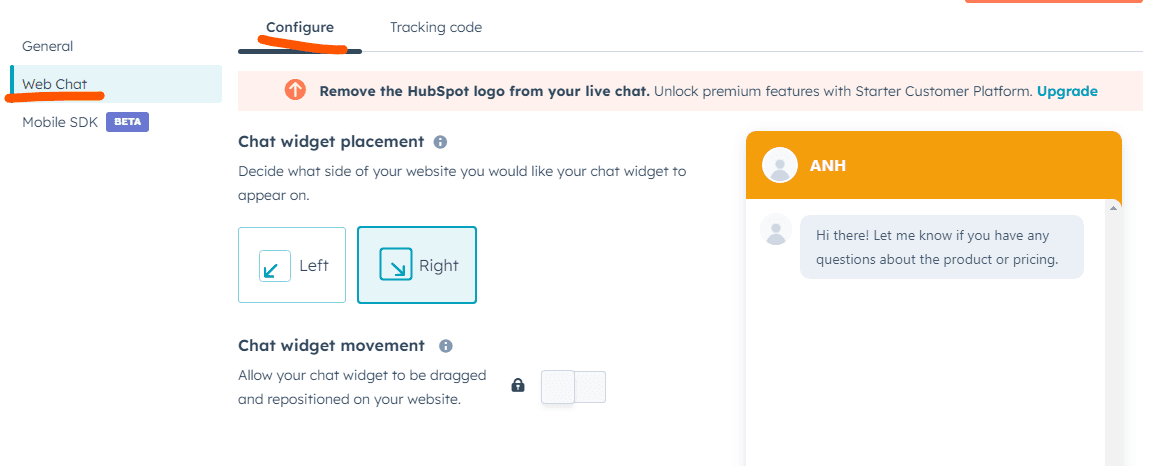
You can choose the live chat can be shown on the bottom left or bottom right of page:
3.3 Custom position of live chat:
You can choose the live chat can be shown on the bottom left or bottom right of page:
3.4 Custom the avatar:
If you want to add avatar of supporter on the live chat like this:

You need get back to setup the chat flow on previous step:
In display tab setting, you need choose the user who can reply the customer, if user have the avatar, the avatar image will be shown on the live chat.

4. Update .env.local file
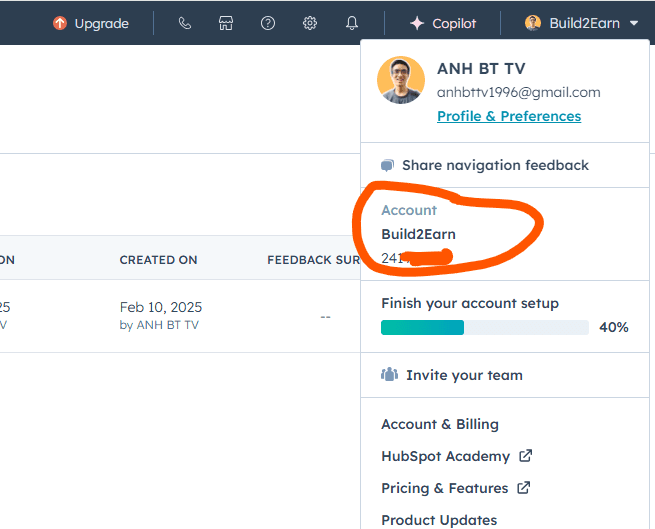
Please add the HUBSPOT_ID value on the .env.local file:
jsonHUBSPOT_ID="xxxxxxxxxxx"
The HUBSPOT_ID value you can get on the Hubspot profile:
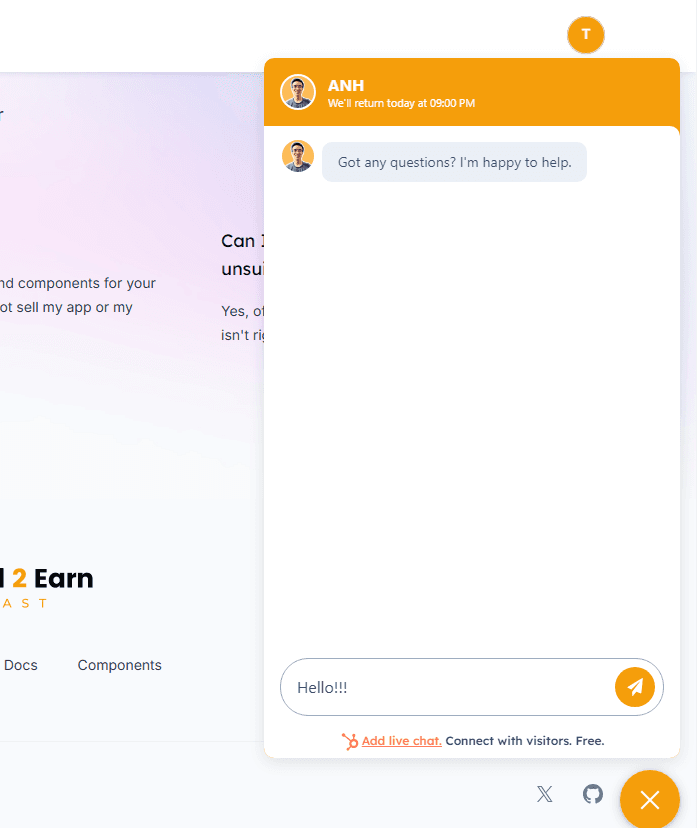
5. See the result
After integrate with Next.js and custom the look and feel of live chat, so you will see the result like that on your website:
Notes
Sometimes you might not see the live chat right away, even though the setup is correct. The issue is that HubSpot hasn’t fully finished setting it up yet, so you can wait about 30 minutes to an hour and then review it again.
After customer send the message, the message will be show on the Inbox section on the Hubspot:
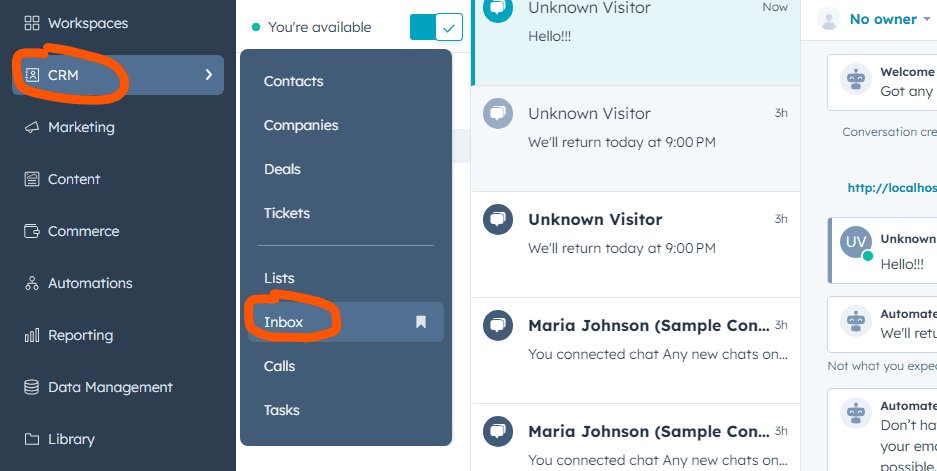
Cool! Now you can see any messages from your customers, you can chat with them and get the feedbacks.