03 Release product
Setup MongoDB for production
In the Build MVP app guide, I instructed you to set up MongoDB using Docker for the development environment (you can review on this link). Now, when deploying to production, we need to host MongoDB on the cloud. I chose MongoDB Atlas because it is simple to use, easy to set up with Next.js, and reasonably priced.
1. Signin and create database on Mongo Atlas
1.1 Signin Mongo Atlas
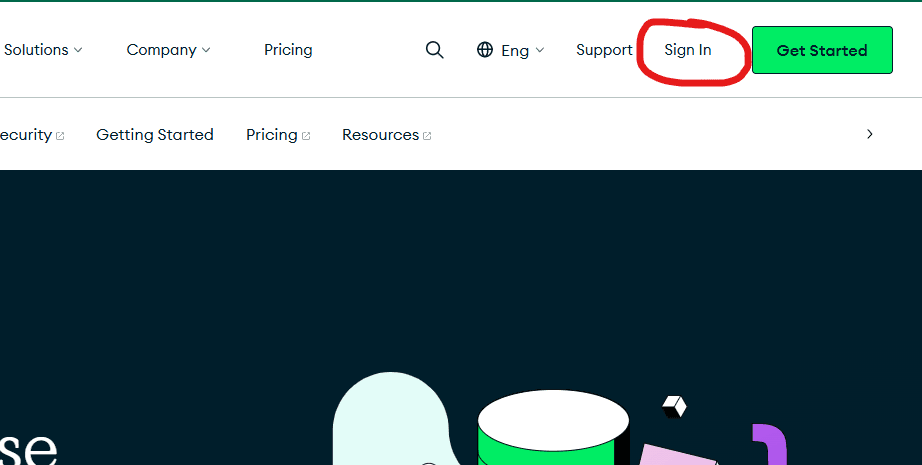
Please signin (sign-up, you can use Google account to signin) MongoAtlas in here.
1.2 Create a new projects
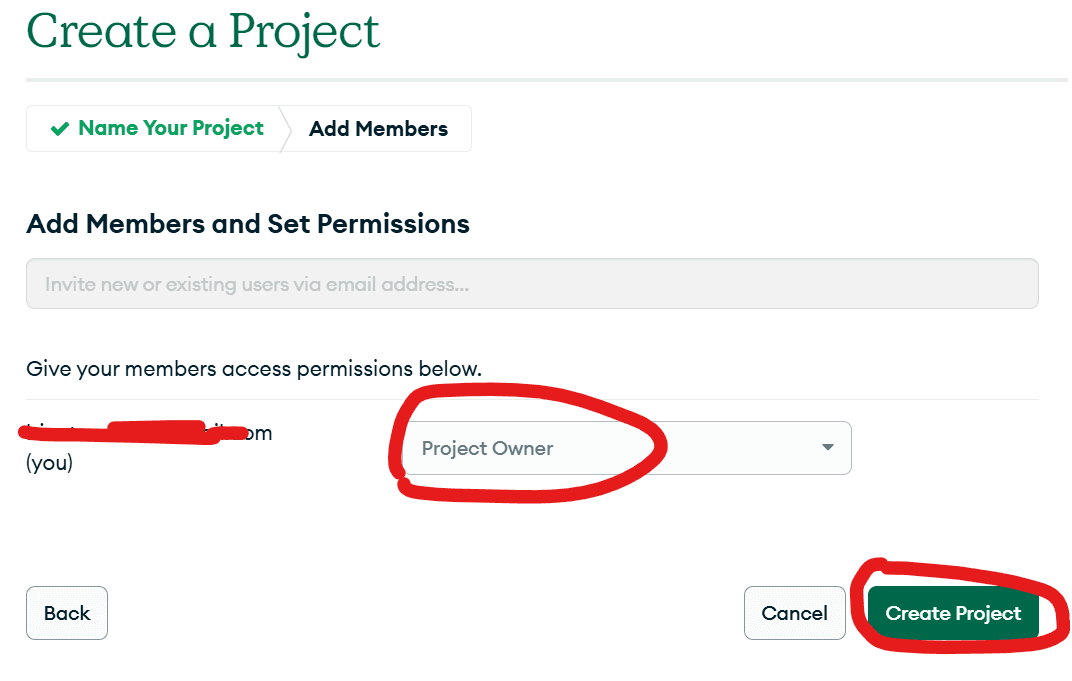
After signing in, you will see your organization (you can also create a new one). Within an organization, you can have multiple projects. Each project represents one of your applications. If you build a new application, you’ll need to create a new project for it.
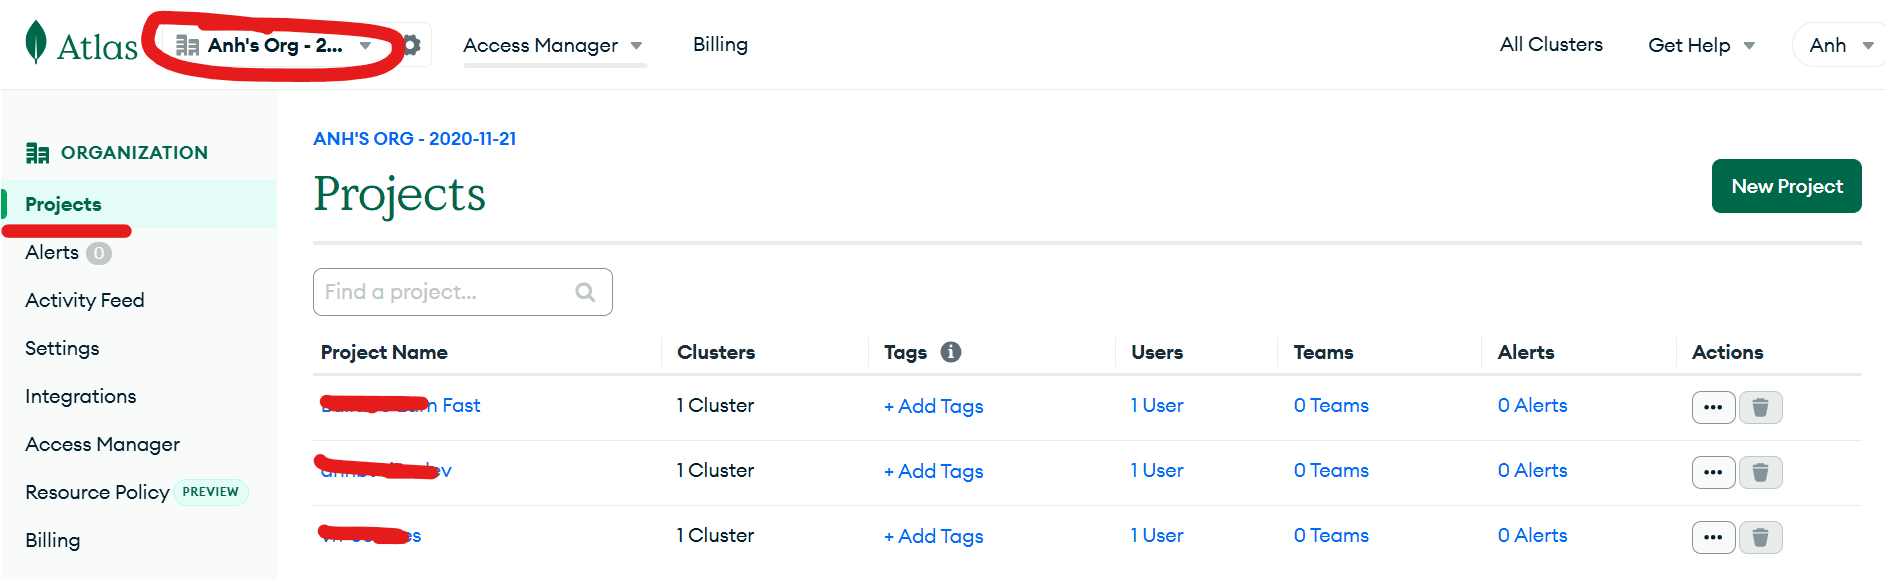
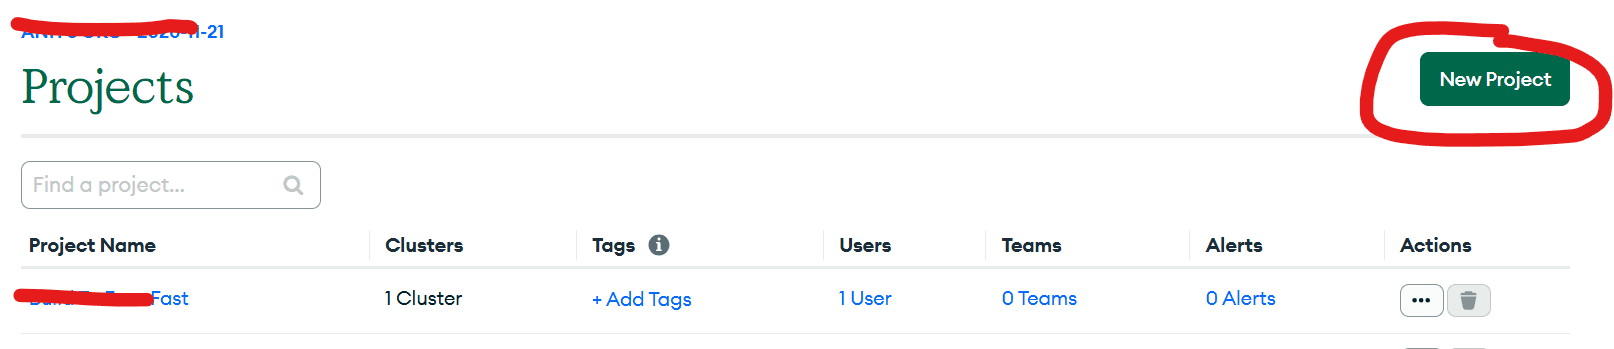
Click on the New Project button
Enter your app name, then click next button
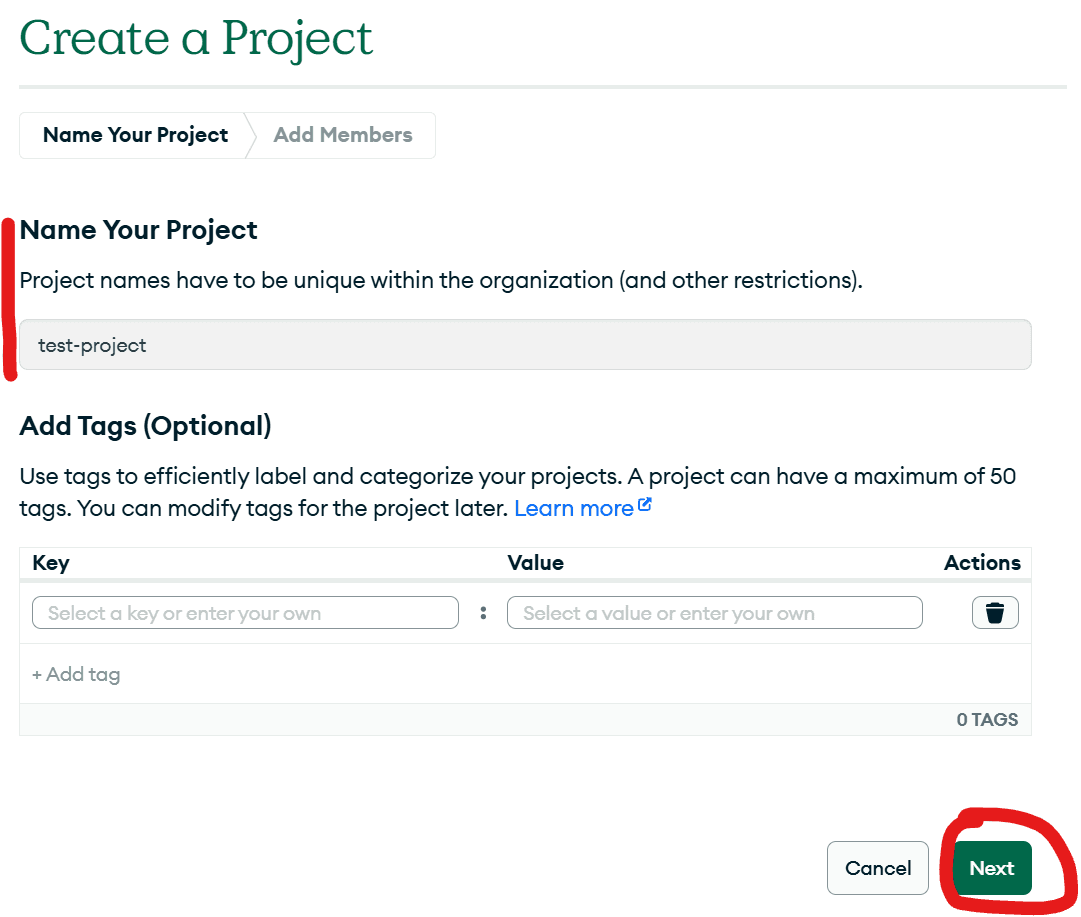
You can invite other people to your project so they can contribute and use your database. If you don't have any team members, you can skip this step. By default, your account will be the Project Owner, which means you have full permissions for the project.
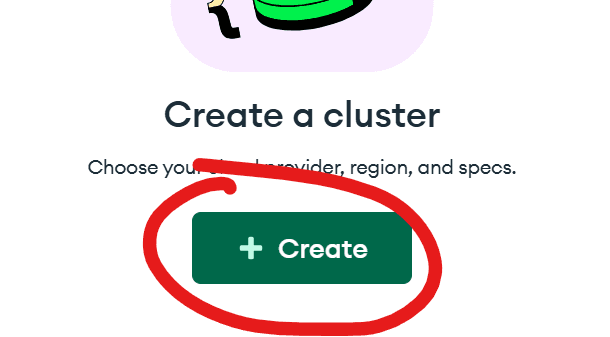
1.3 Create a cluster
After create a new project, you need to create a new cluster in your project.
A cluster is a set of servers that store your MongoDB data. In MongoDB Atlas, creating a cluster means setting up a cloud-hosted database that your application can connect to and use for storing and retrieving data.
If you're using it just for development and learning about MongoDB and MongoDB Atlas, you can choose the Free Cluster.
But since this is a real product, we need a better cluster with a paid plan. As our application is newly released and still has only a small number of users, we can choose the Flex plan at a reasonable price, and later upgrade to a higher plan (M30) as the user base grows
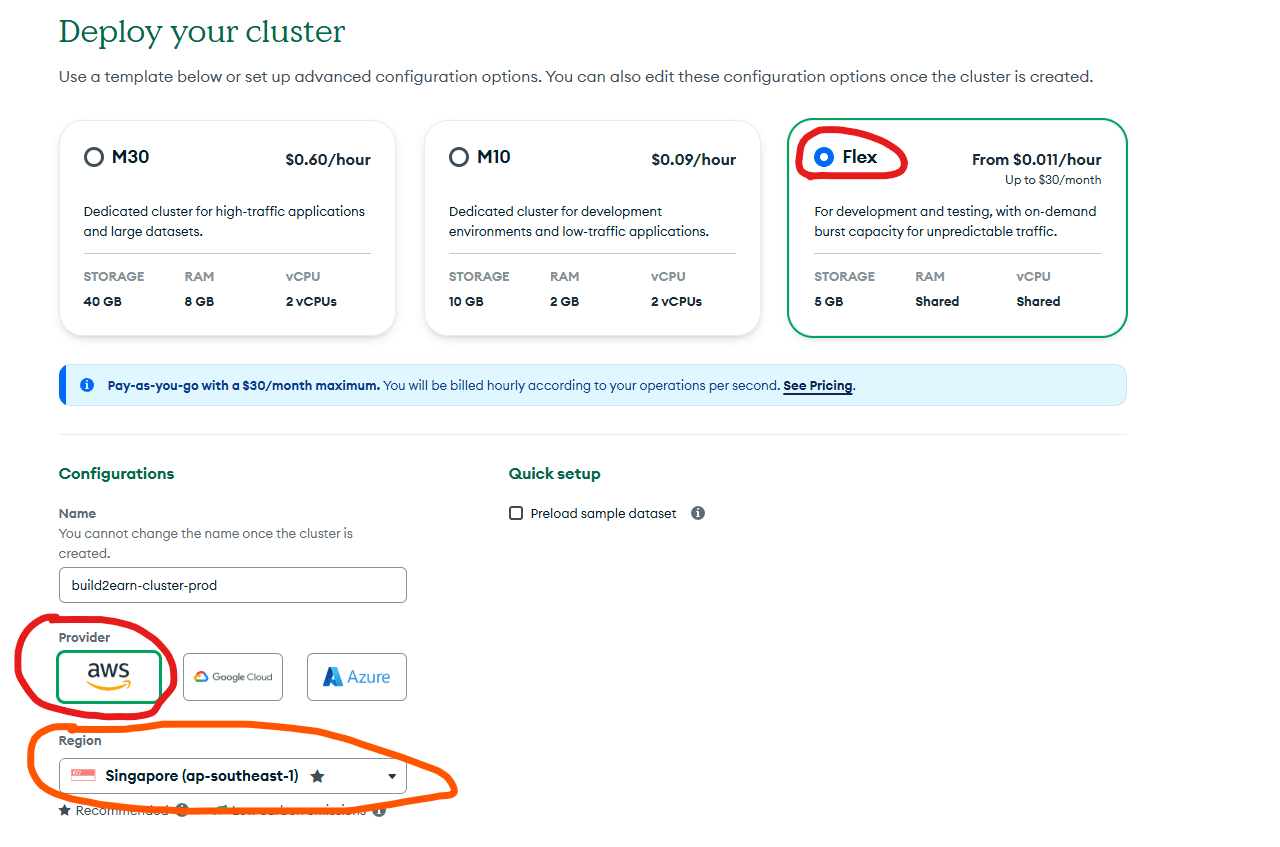
You should also select the region closest to your location.
Go into the "2. Create a database user" to create a new user (who can get access data), you can update name and password as you like.
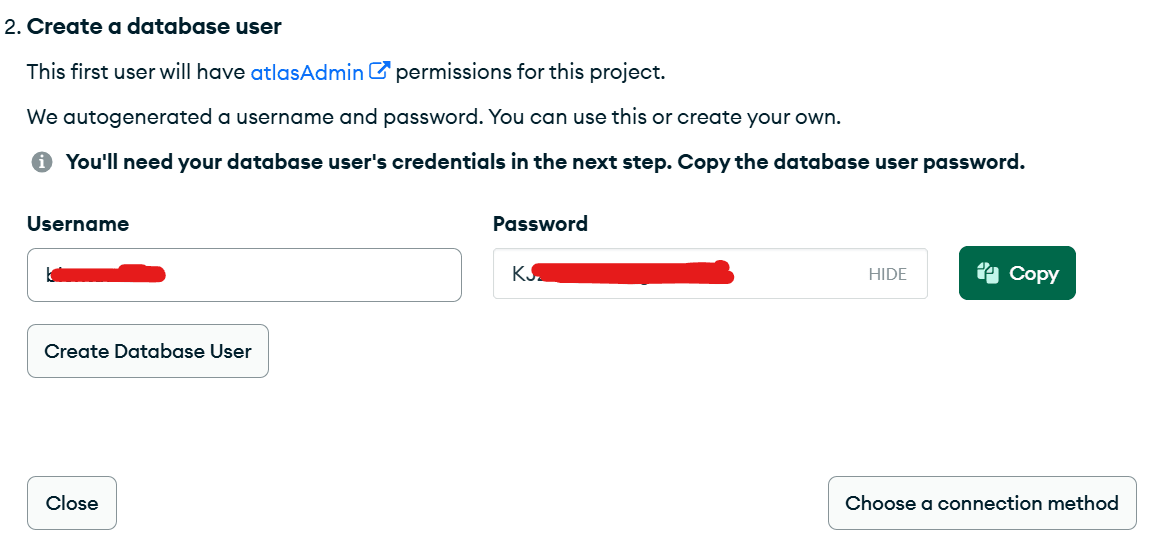
Please remember (or save) the password, you need to use in step below.
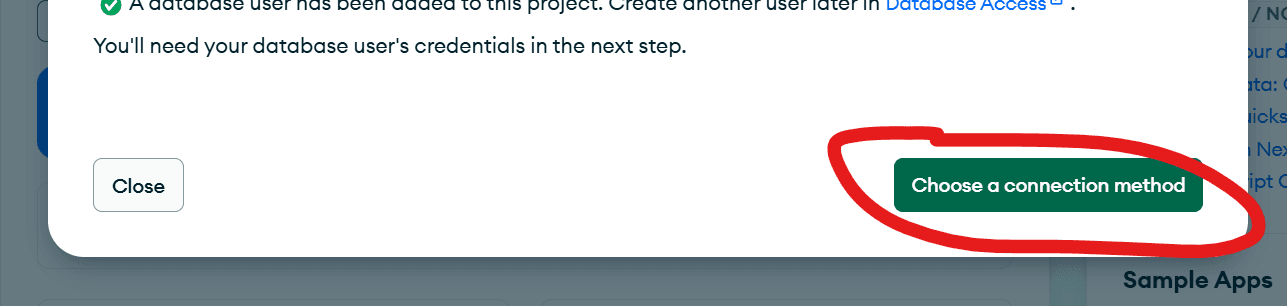
After that, you click Create Database User to create user who can access (get, add, update and delete) data.
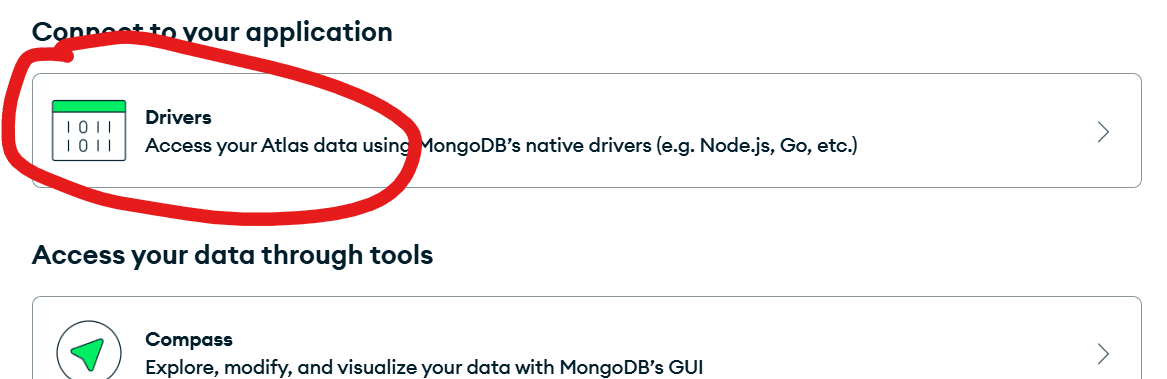
After that, we will choose the way to connect to your Next.js application
Choose Drivers options
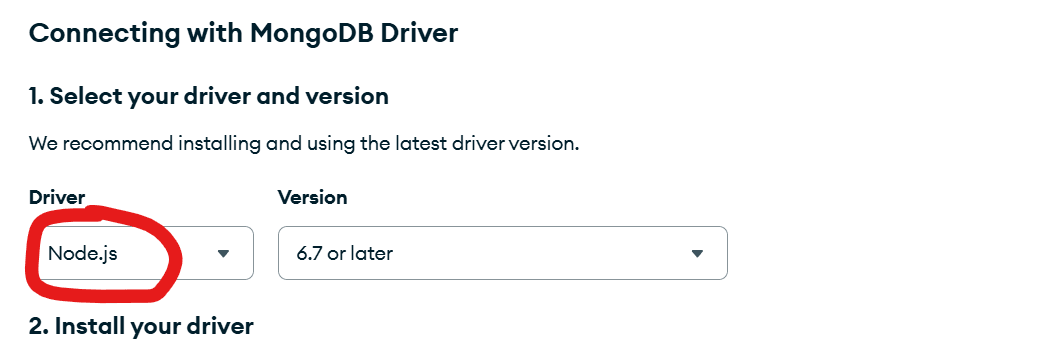
Because we are using Next.js so we need choose the drivers is Node.js
Copy all string then replace the <password> by the value you save step above.
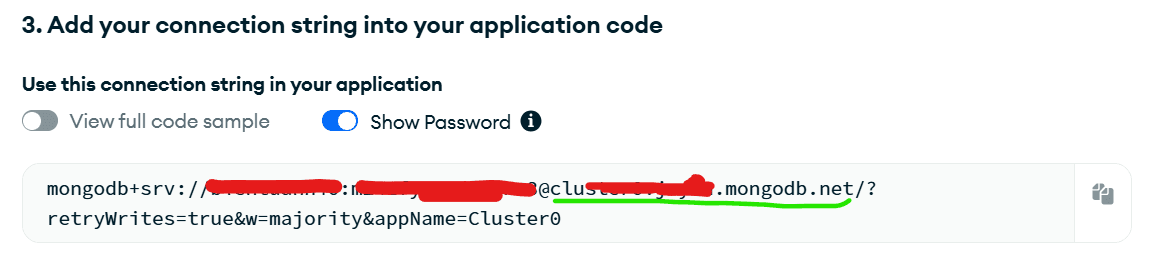
Please save this value for deploy app on the Vercel, on the next page. It is MONGO_DB_URI value.
Note: Please do not share this value public.
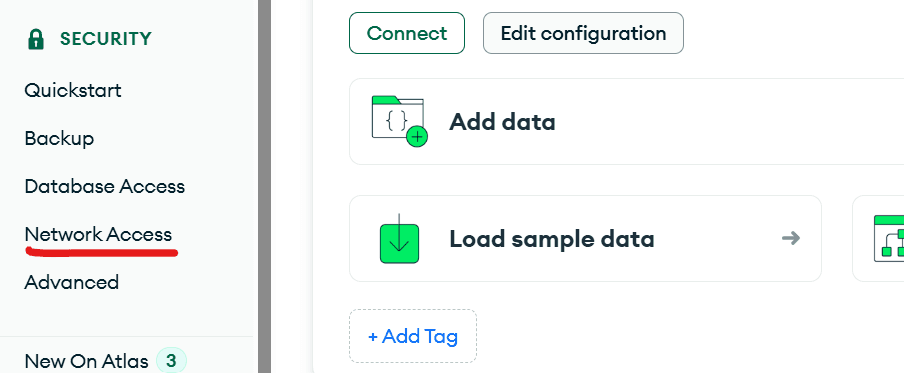
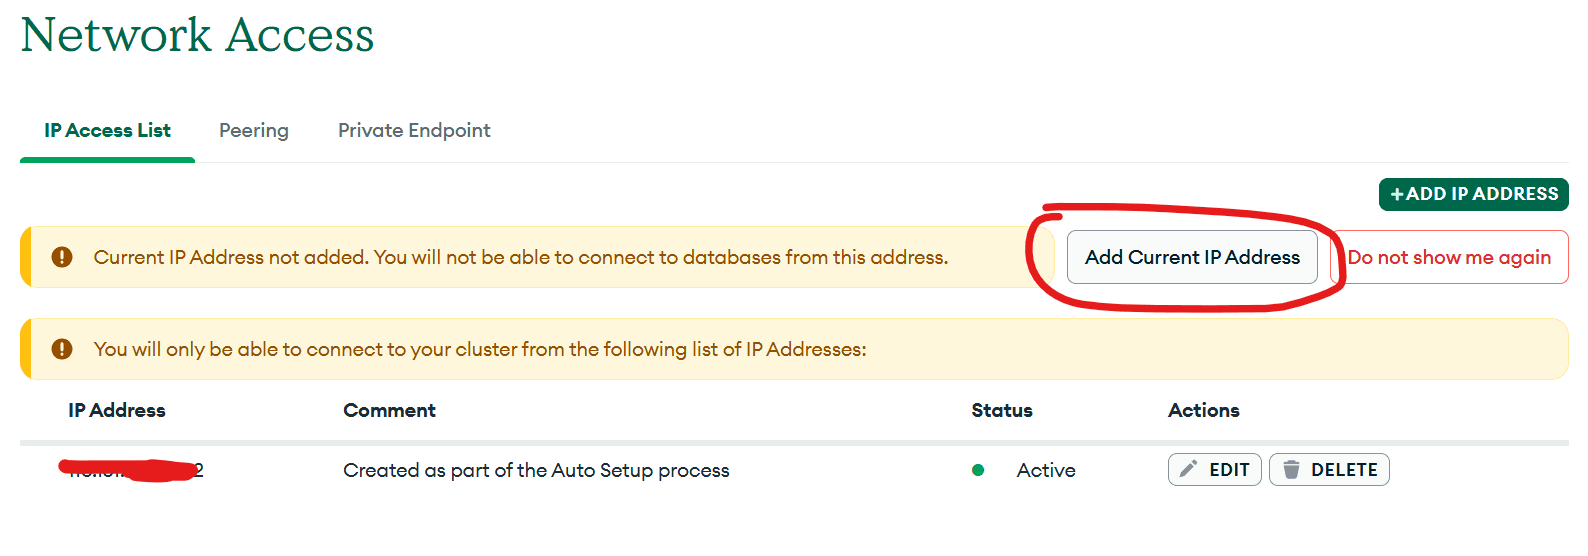
2. Add your current IP address
To connect to your MongoDB Atlas server, you need add your current IP address into the whitelist IP address. It is just for security (do not allow someone can connect into your DB).
Click "Network access" link on the left navigation (still in Project page)
Click Add Current IP Address button
You have successfully completed the setup 🎉.